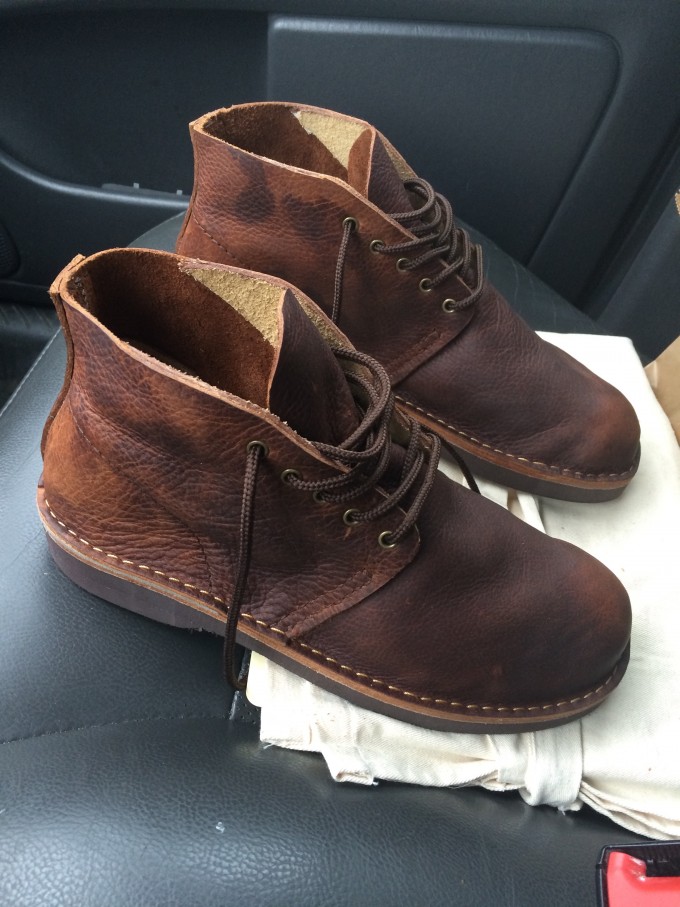
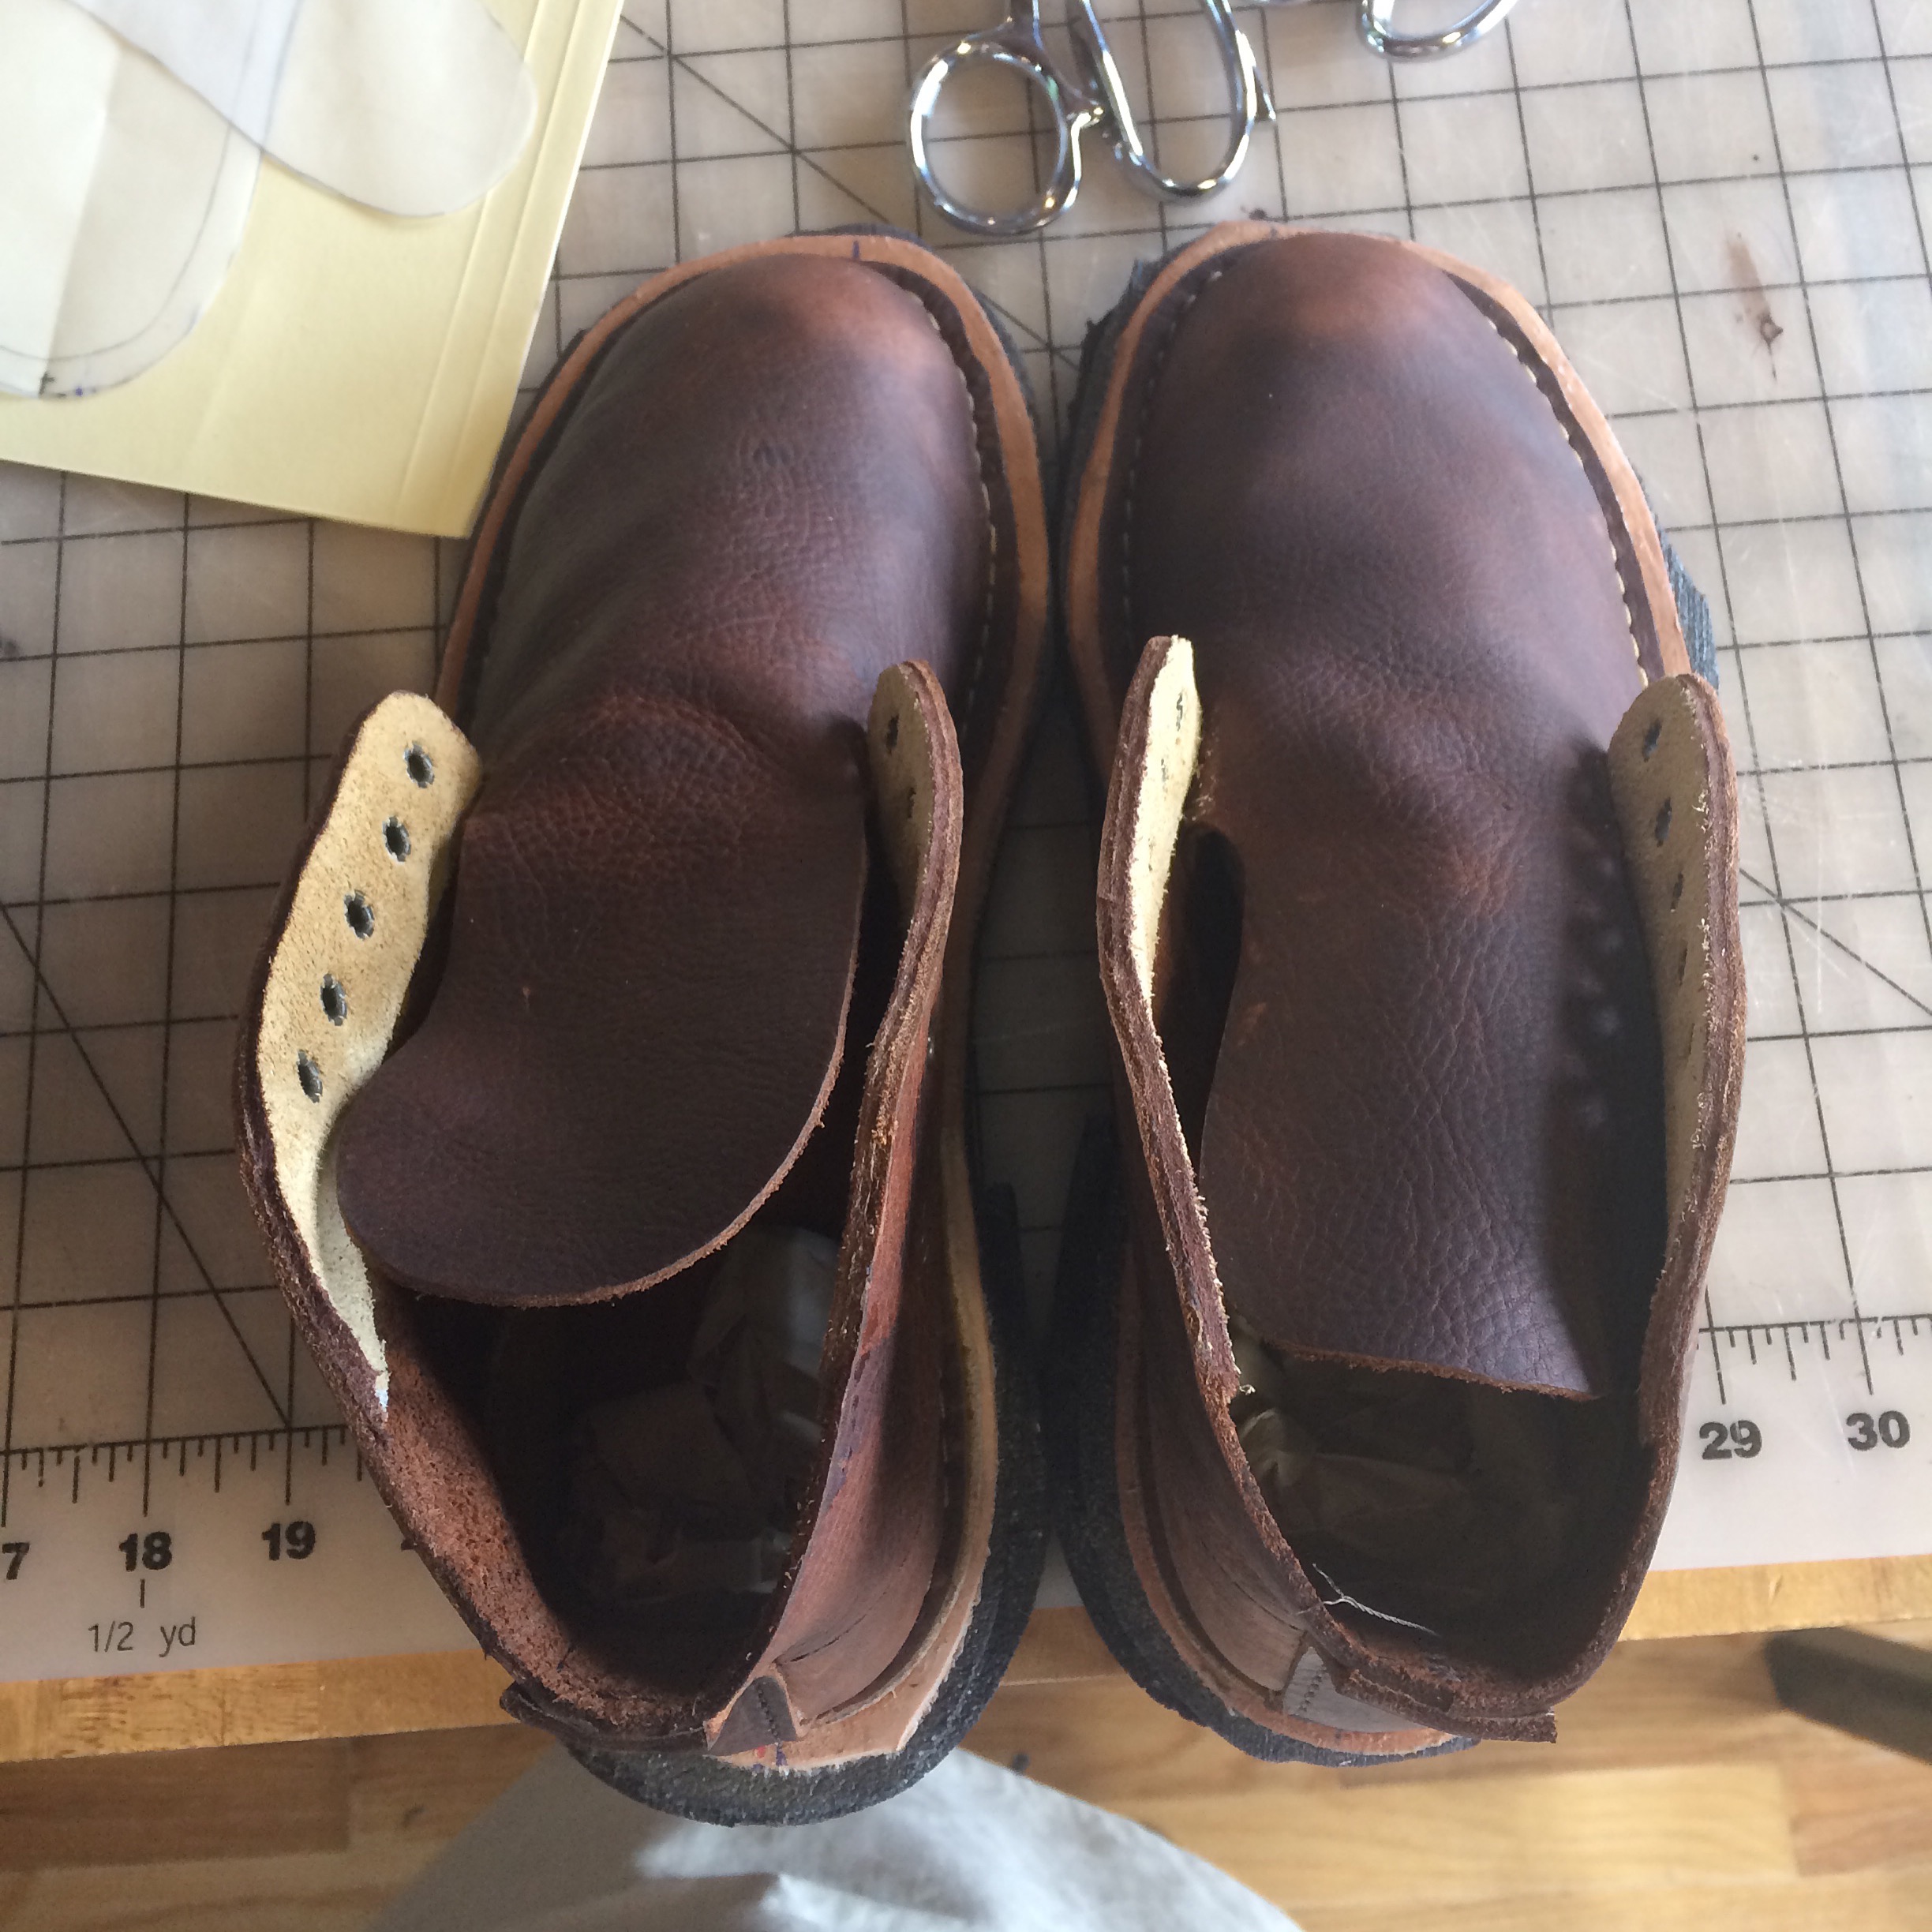
My Desert Boots!
Hey everyone! I told you that I would share my shoes, well here they are without further ado:
 Yes, I know it’s ridiculous that my best picture of these shoes is from right after the class when I set them on the passenger seat. It turns out, I’m not a very good photographer because I tried taking pictures of them at home and couldn’t get a better shot.
I’m sure it’s an unusual thing to have “make your own shoes from scratch” on a to-do list. Honestly, it’s a goal in my life to make one of everything I use on a regular basis, from scratch, at least once. I think it makes me a better and more thoughtful consumer and Kevin thinks it makes me an awesome person to know in an apocalypse. I have no intention of making every pair of shoes I wear, but I do want to make one more pair for me, a pair for Kevin and a pair for Etta still this year. Not sure if I’ll get it together enough to pull that off though. I tend to make big plans and then not be able to complete all of them, but more on that later.
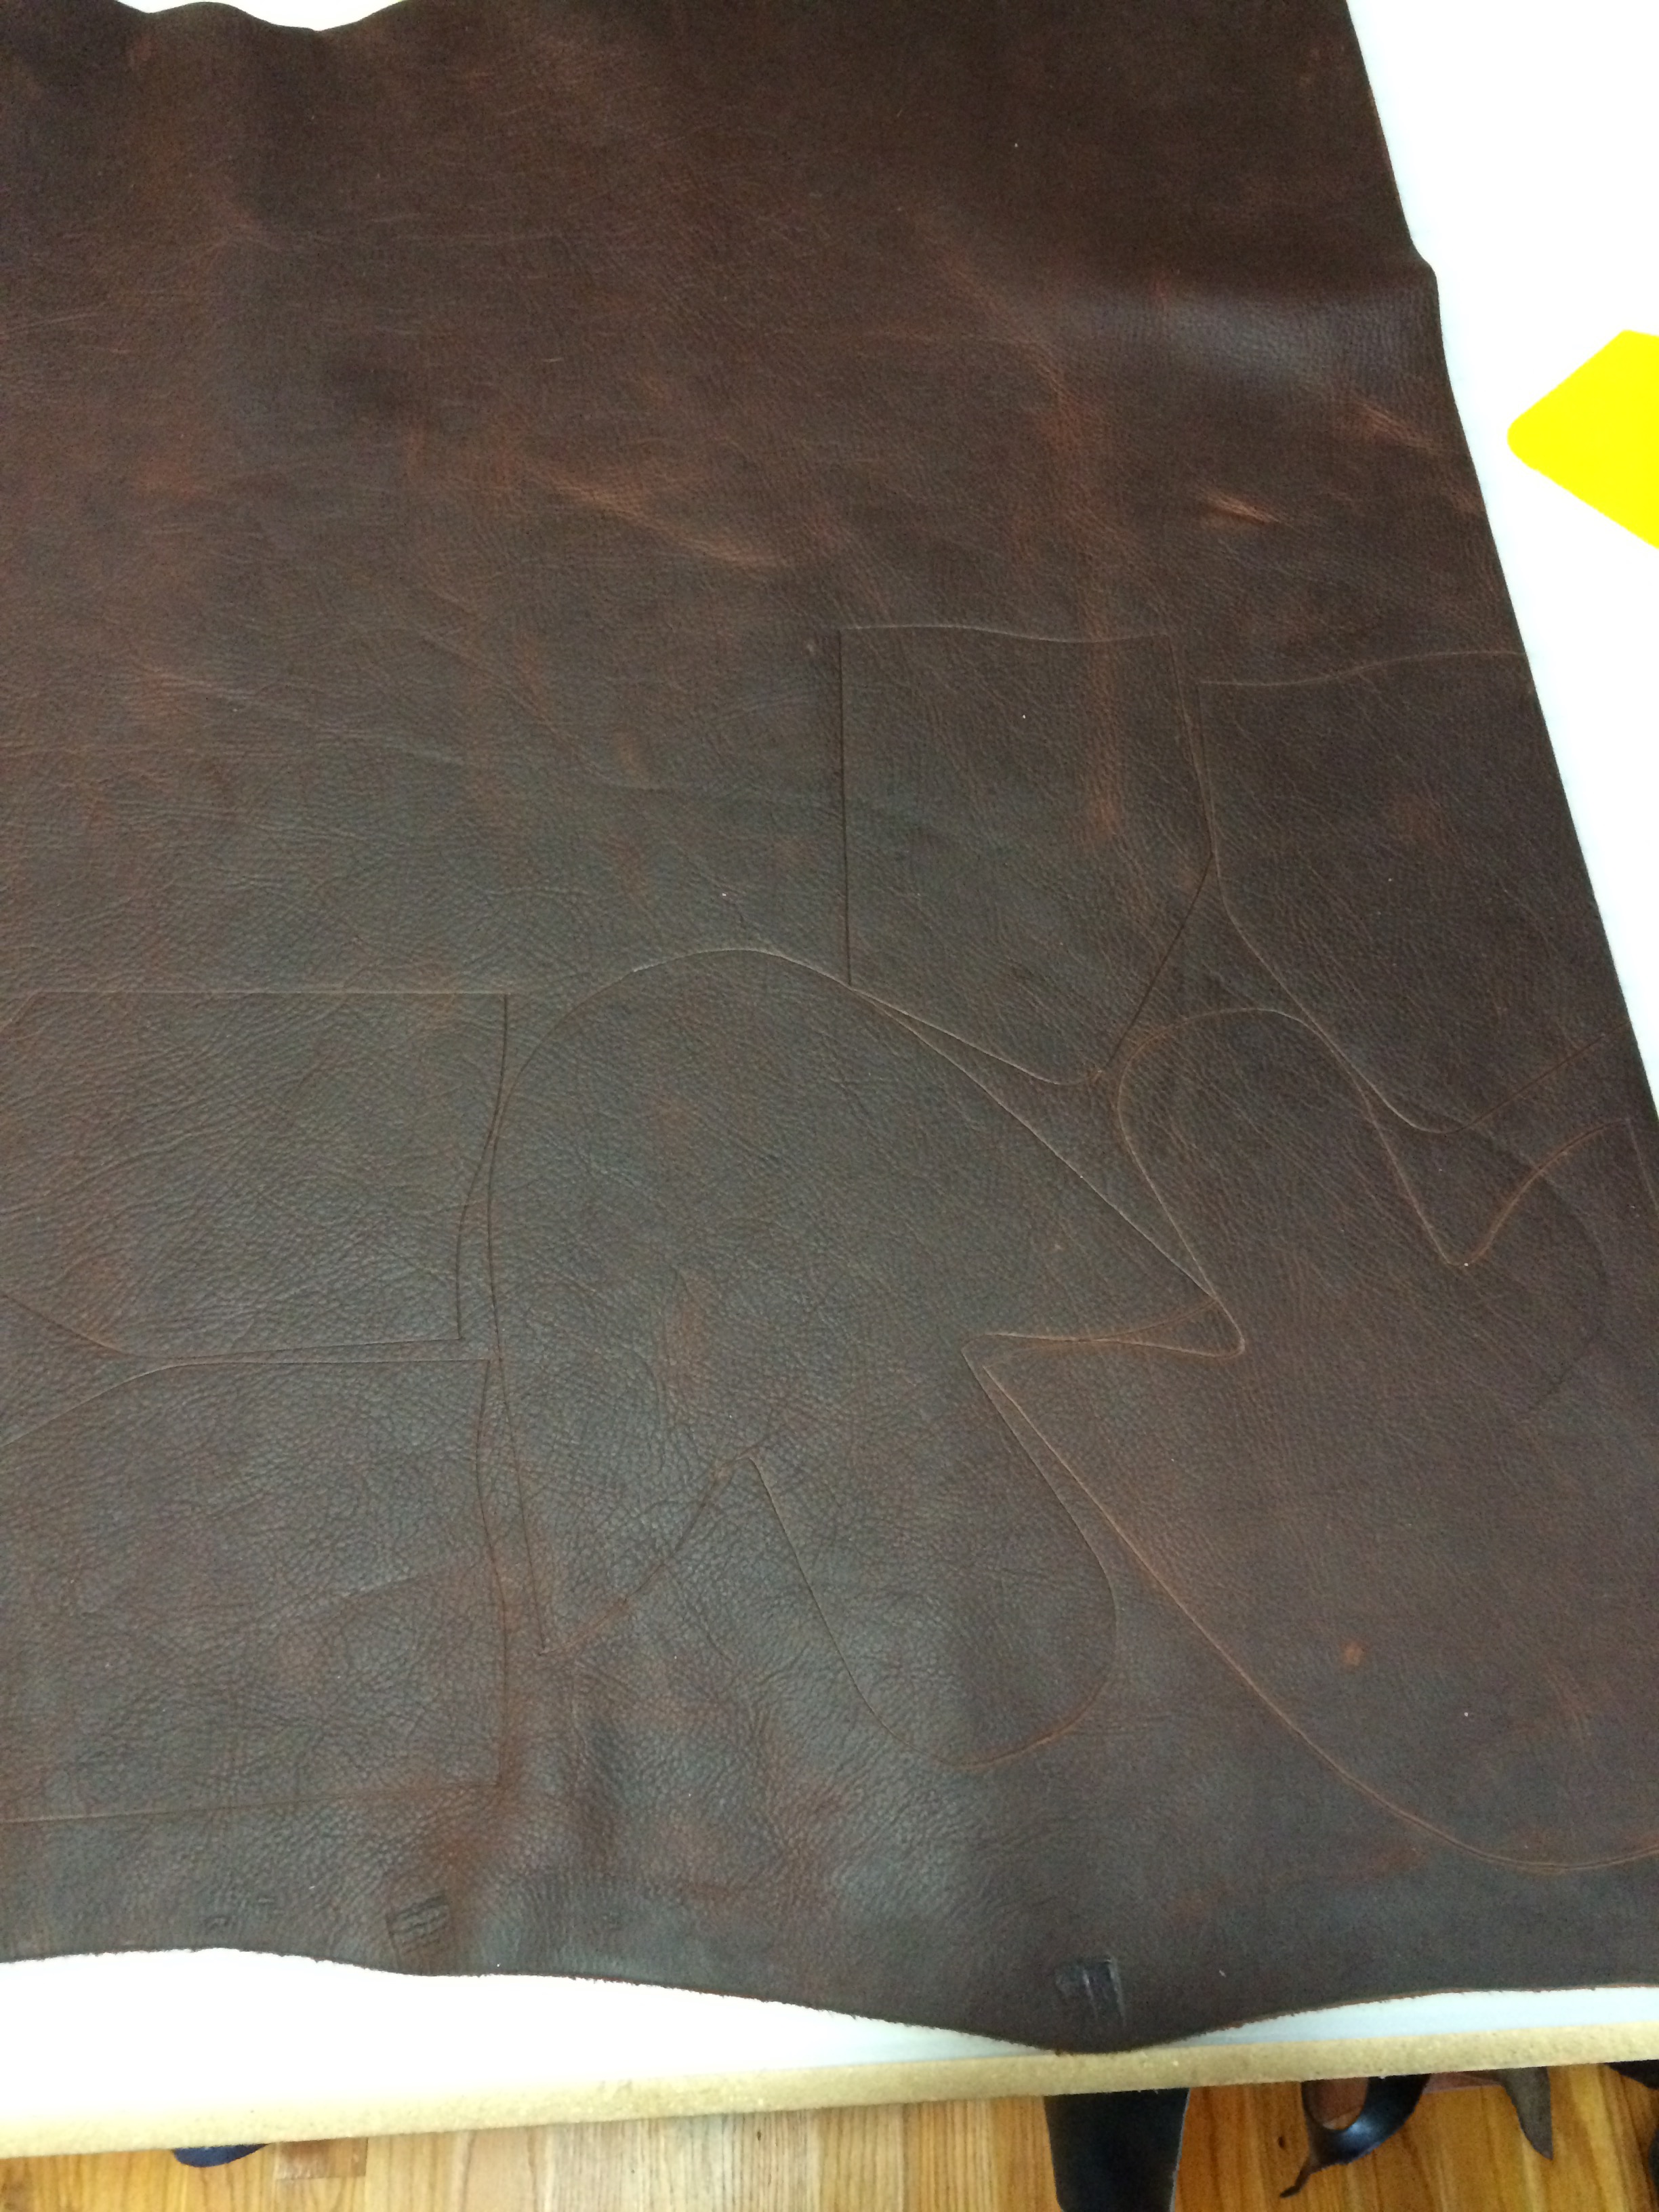
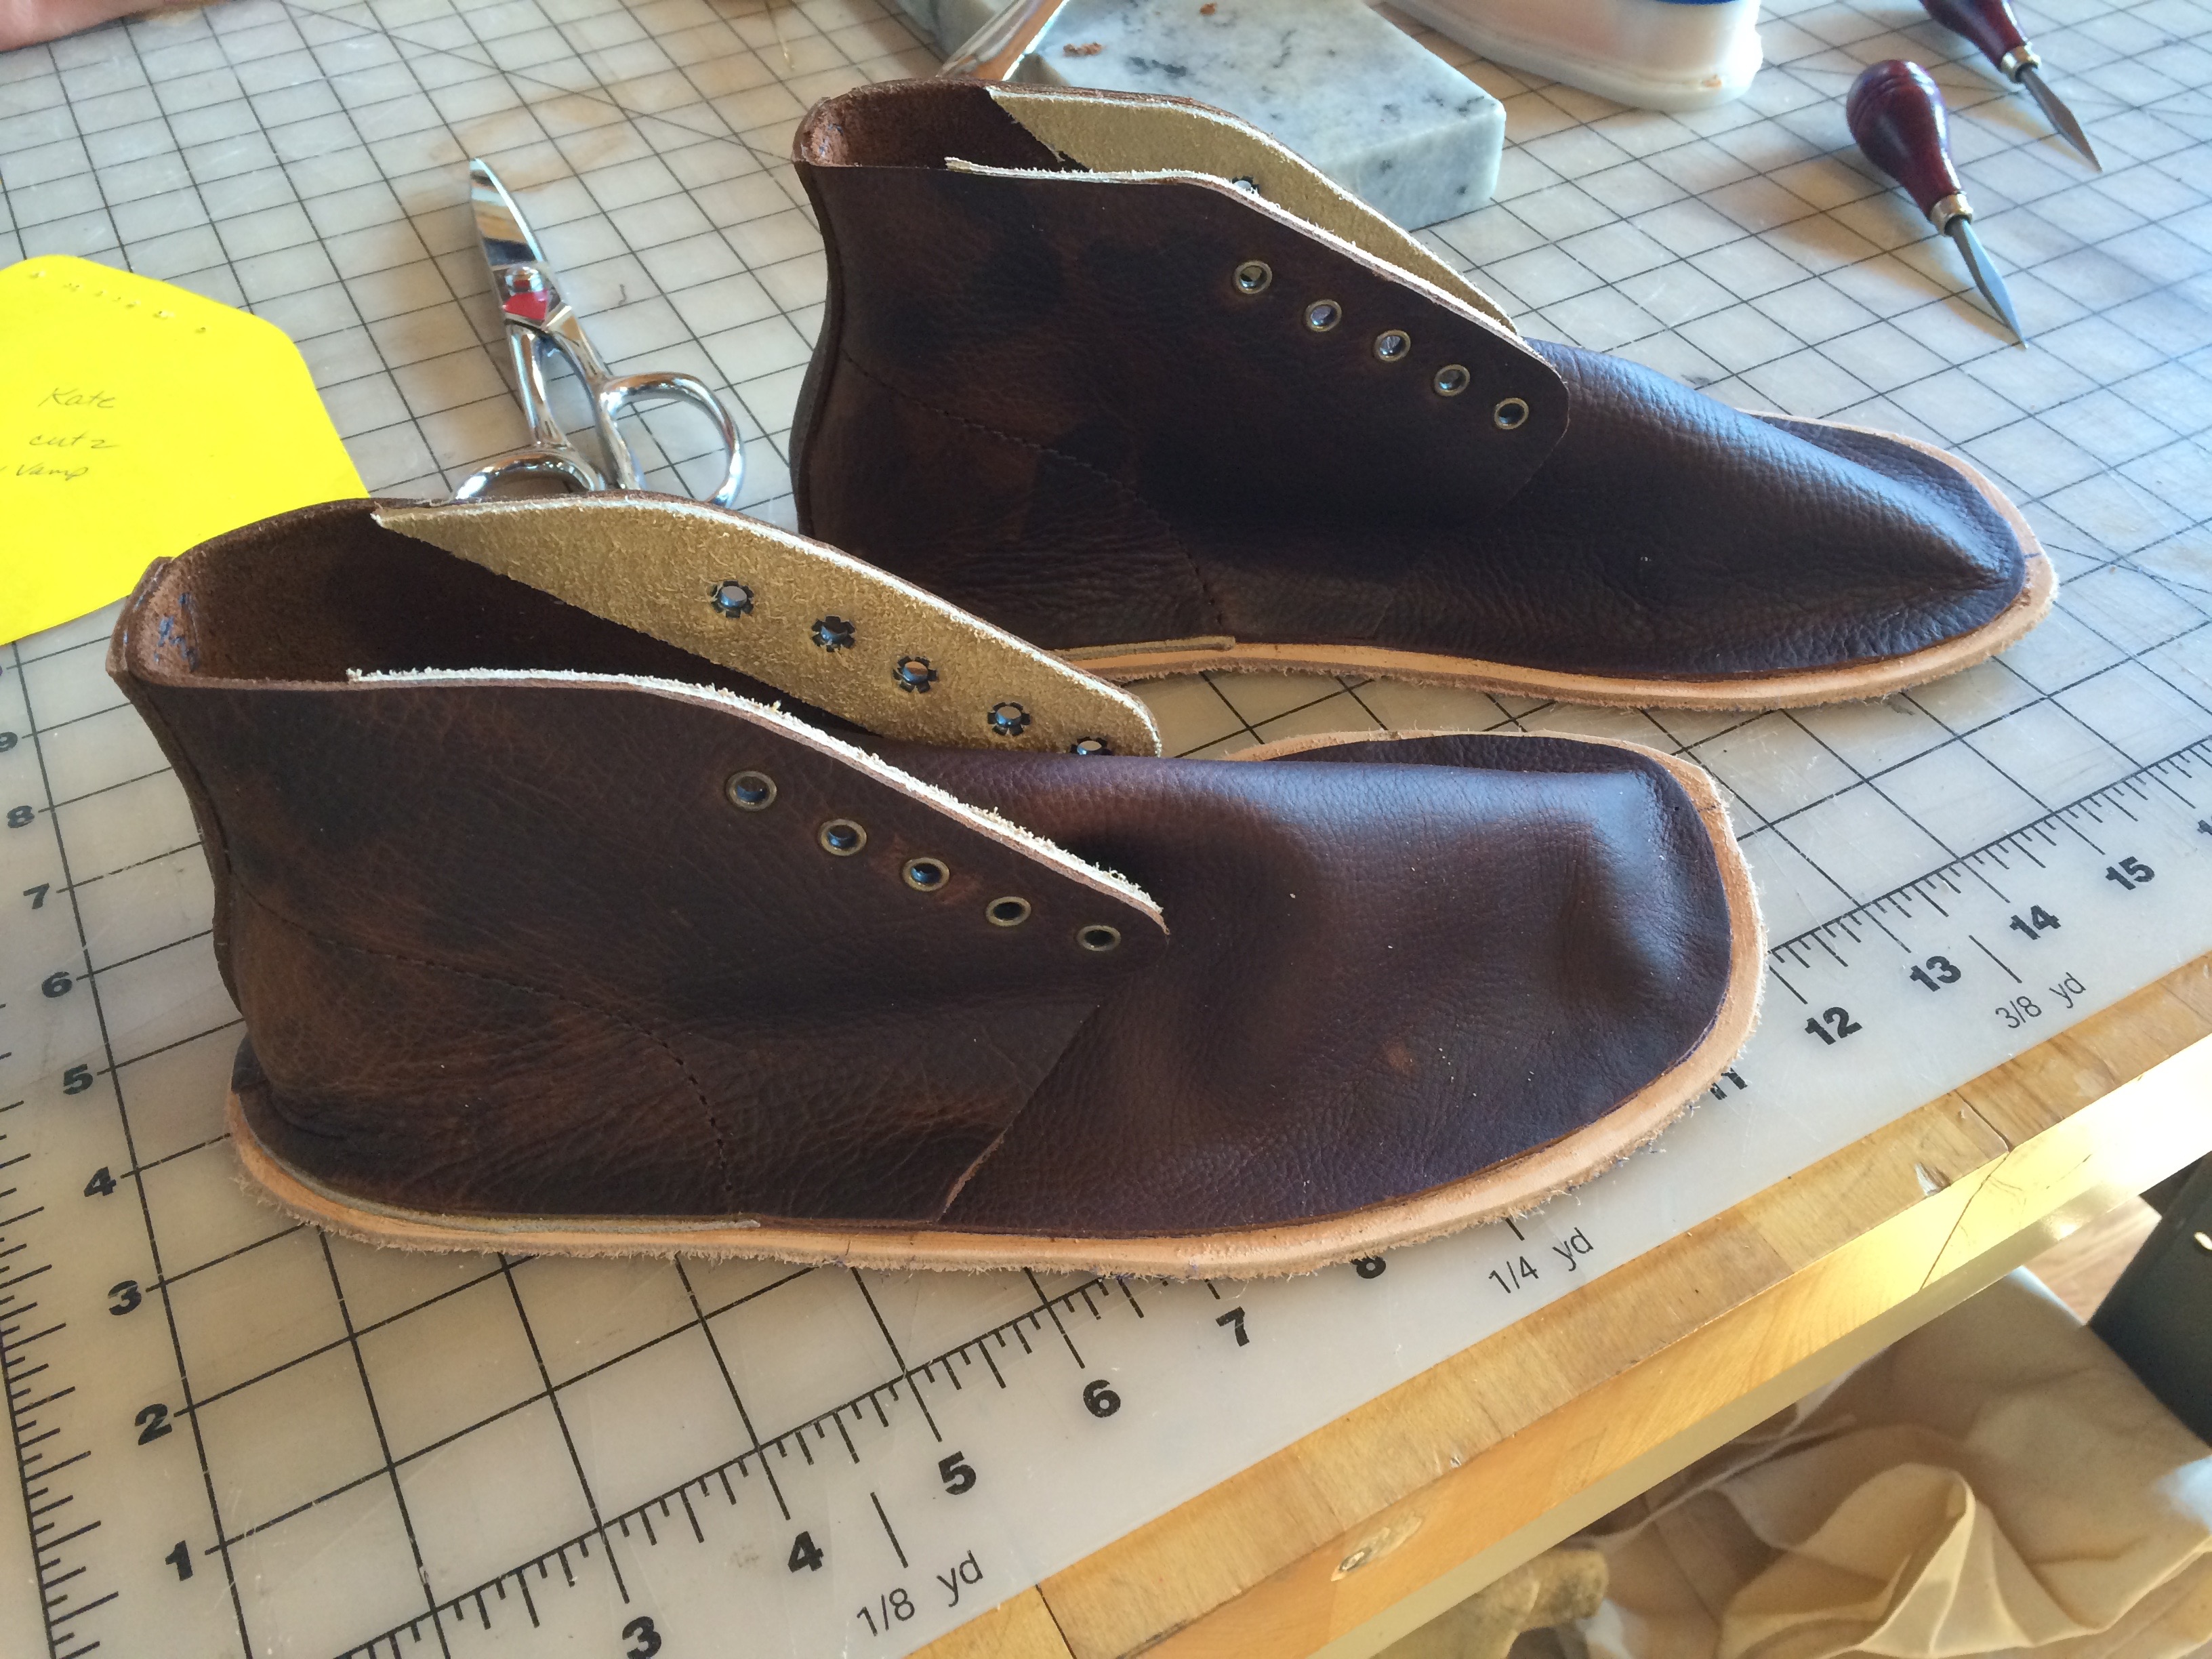
I’m not going to go into incredible detail here about how the shoes are made because that wouldn’t be fair to the person who taught the class. I will share lots of progress shots though. This pattern was made just for my foot by the class instructor, and then I was given the pieces to trace and cut. We were not given a choice for style. Every beginner starts with the same desert boot pattern, but I didn’t mind. I never would have picked these at the store, but I’m glad I have them as my first handmade shoe. They are a pretty classic style. Here are the main parts of the shoe:
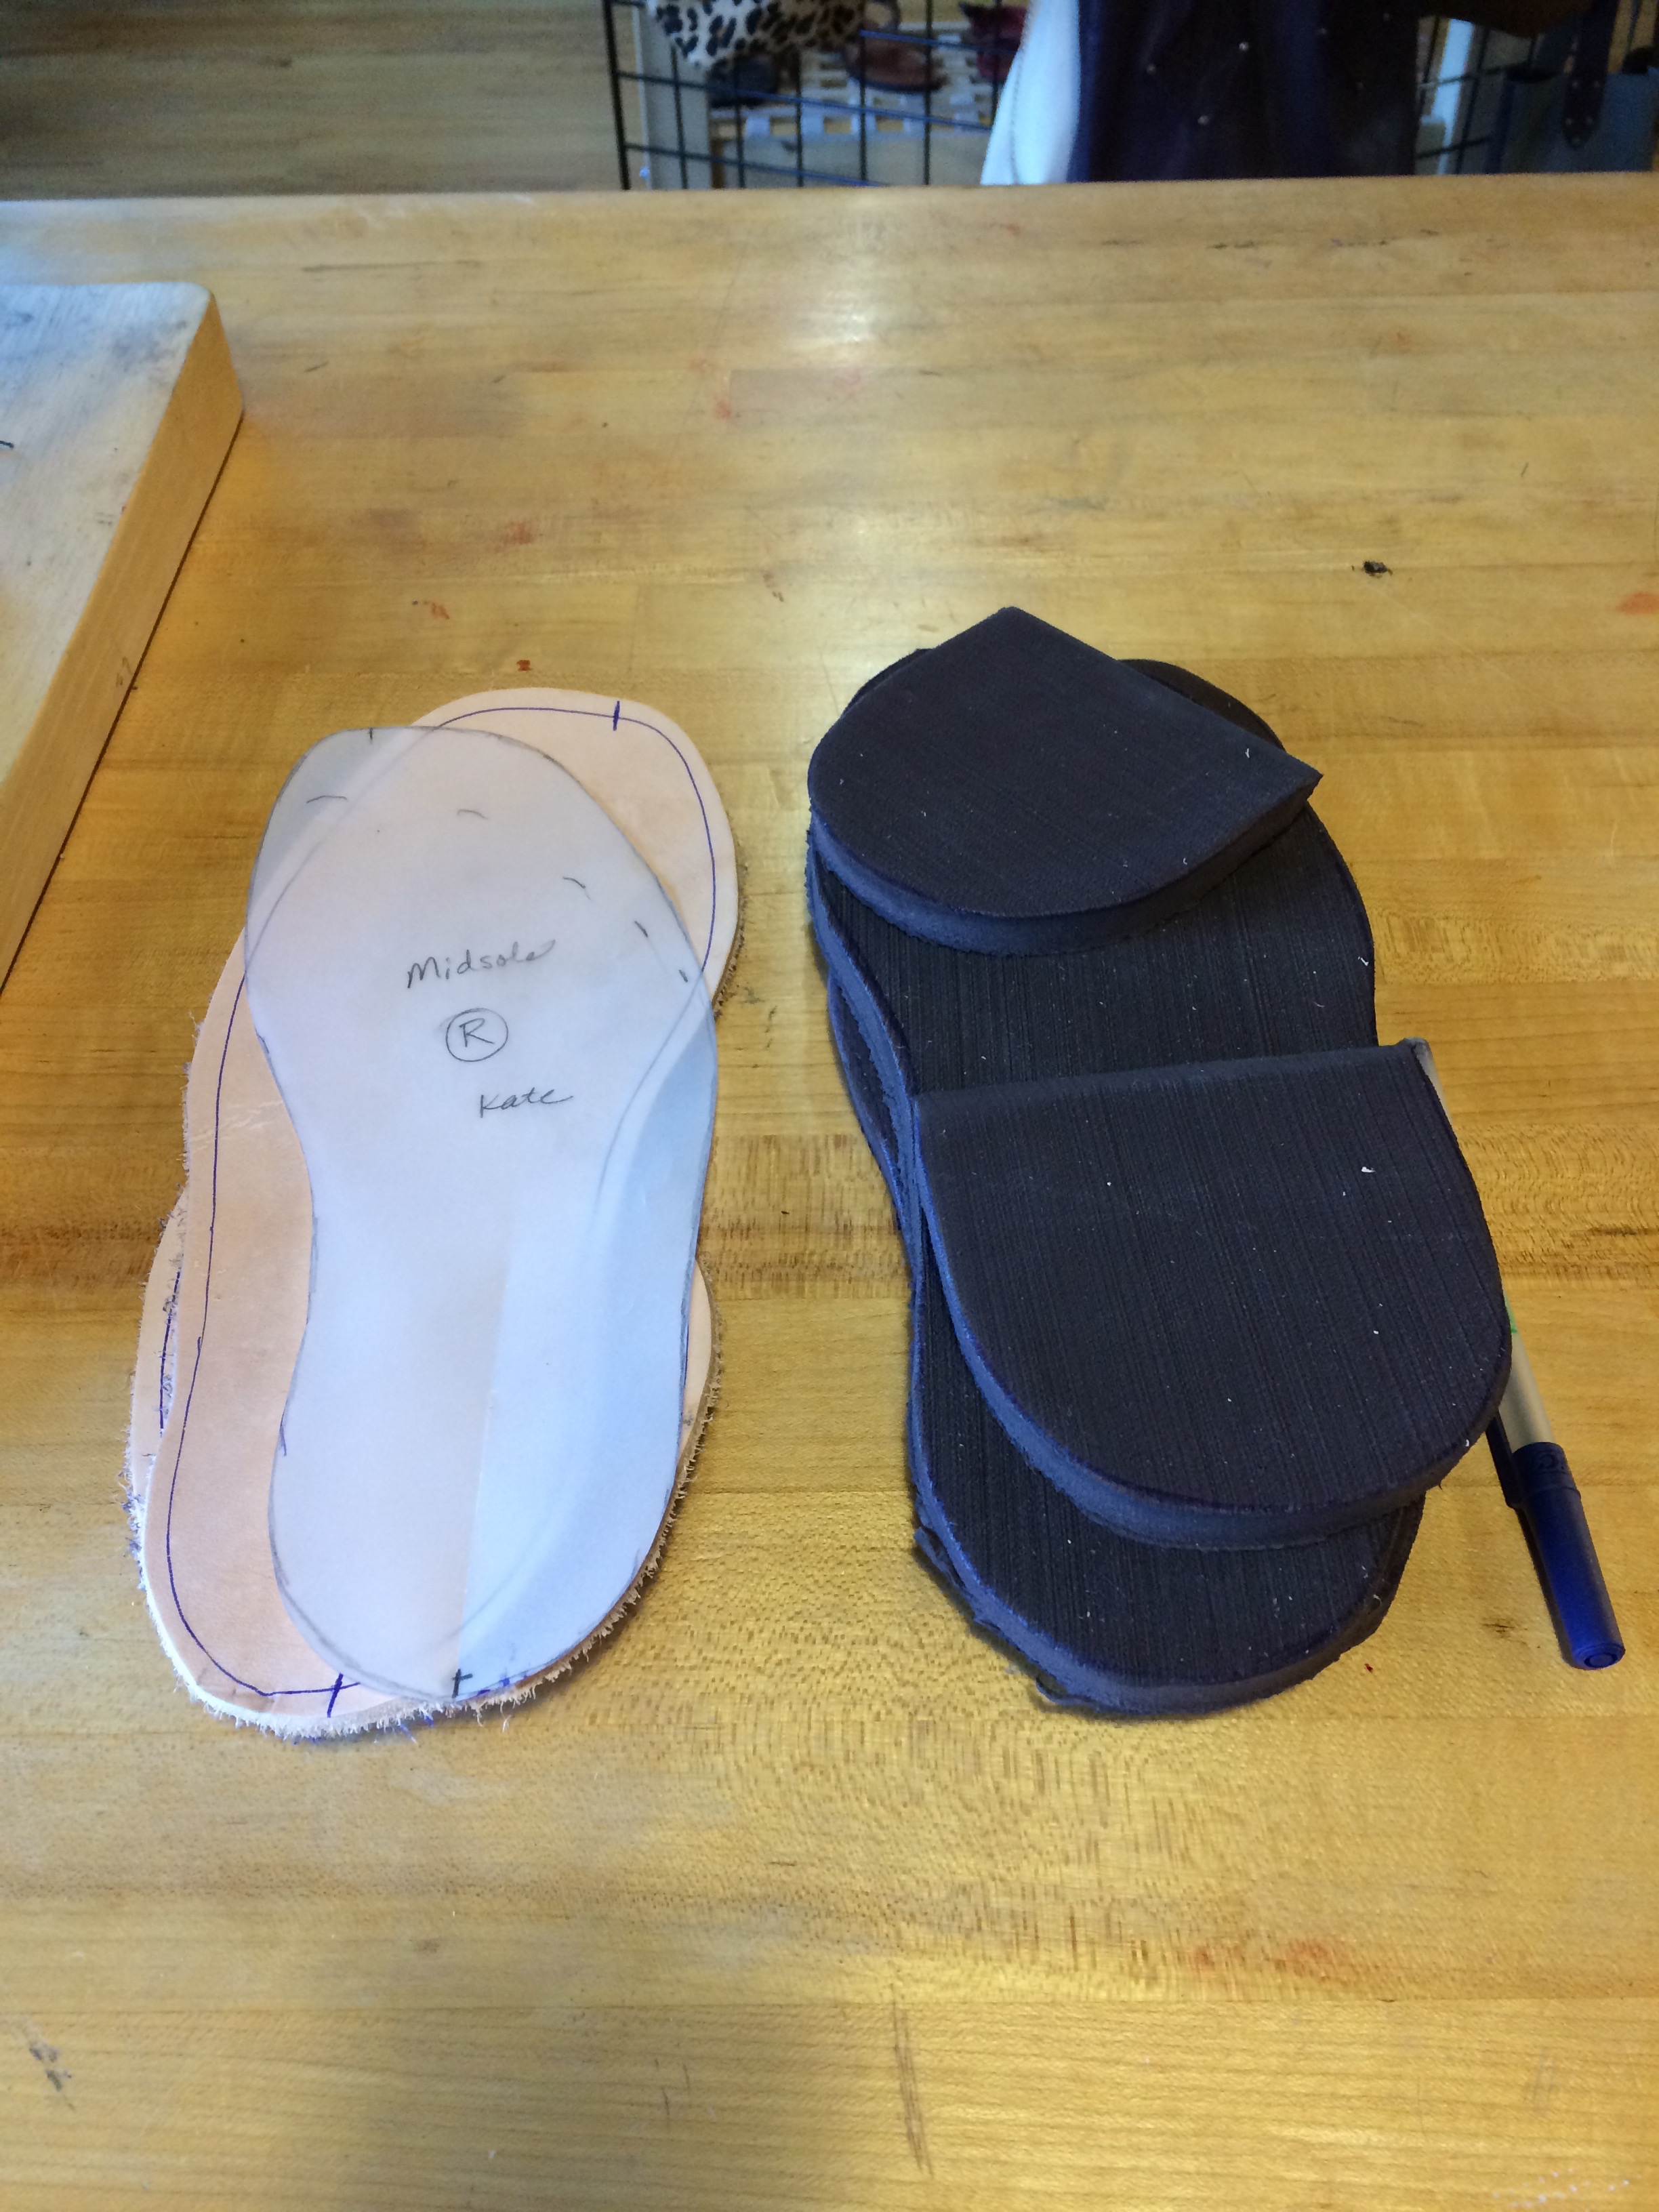
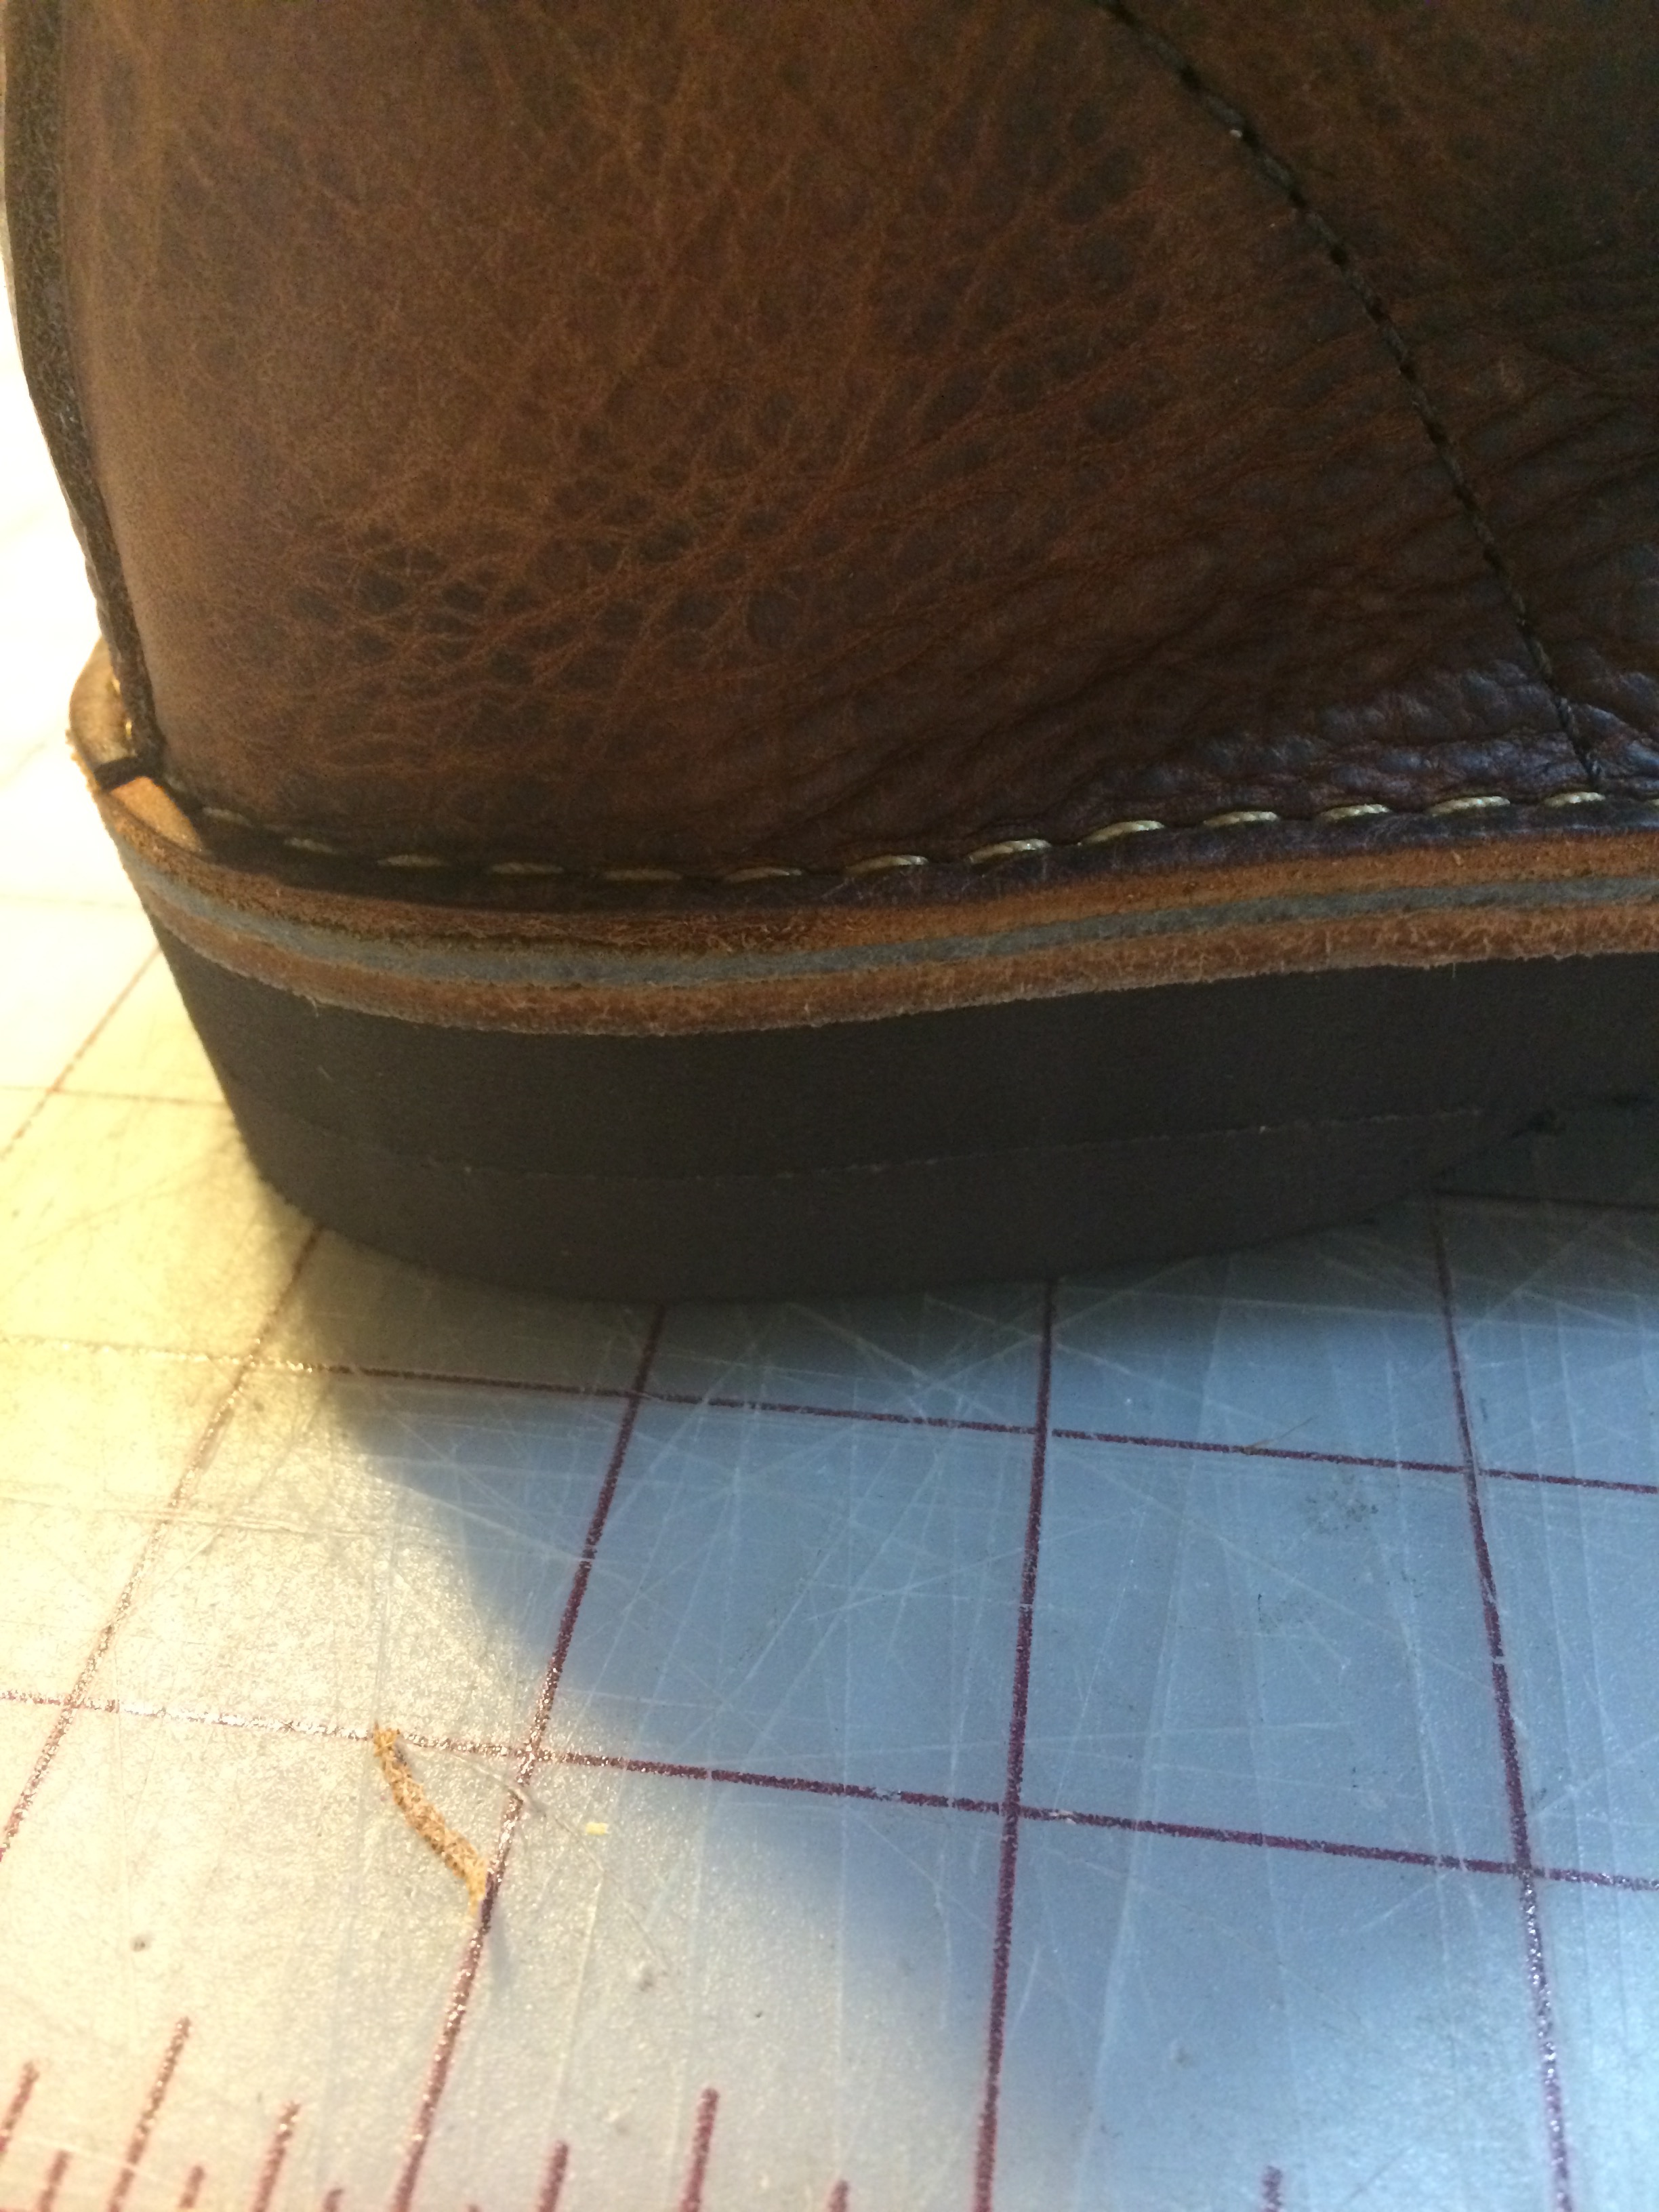
The midsole:
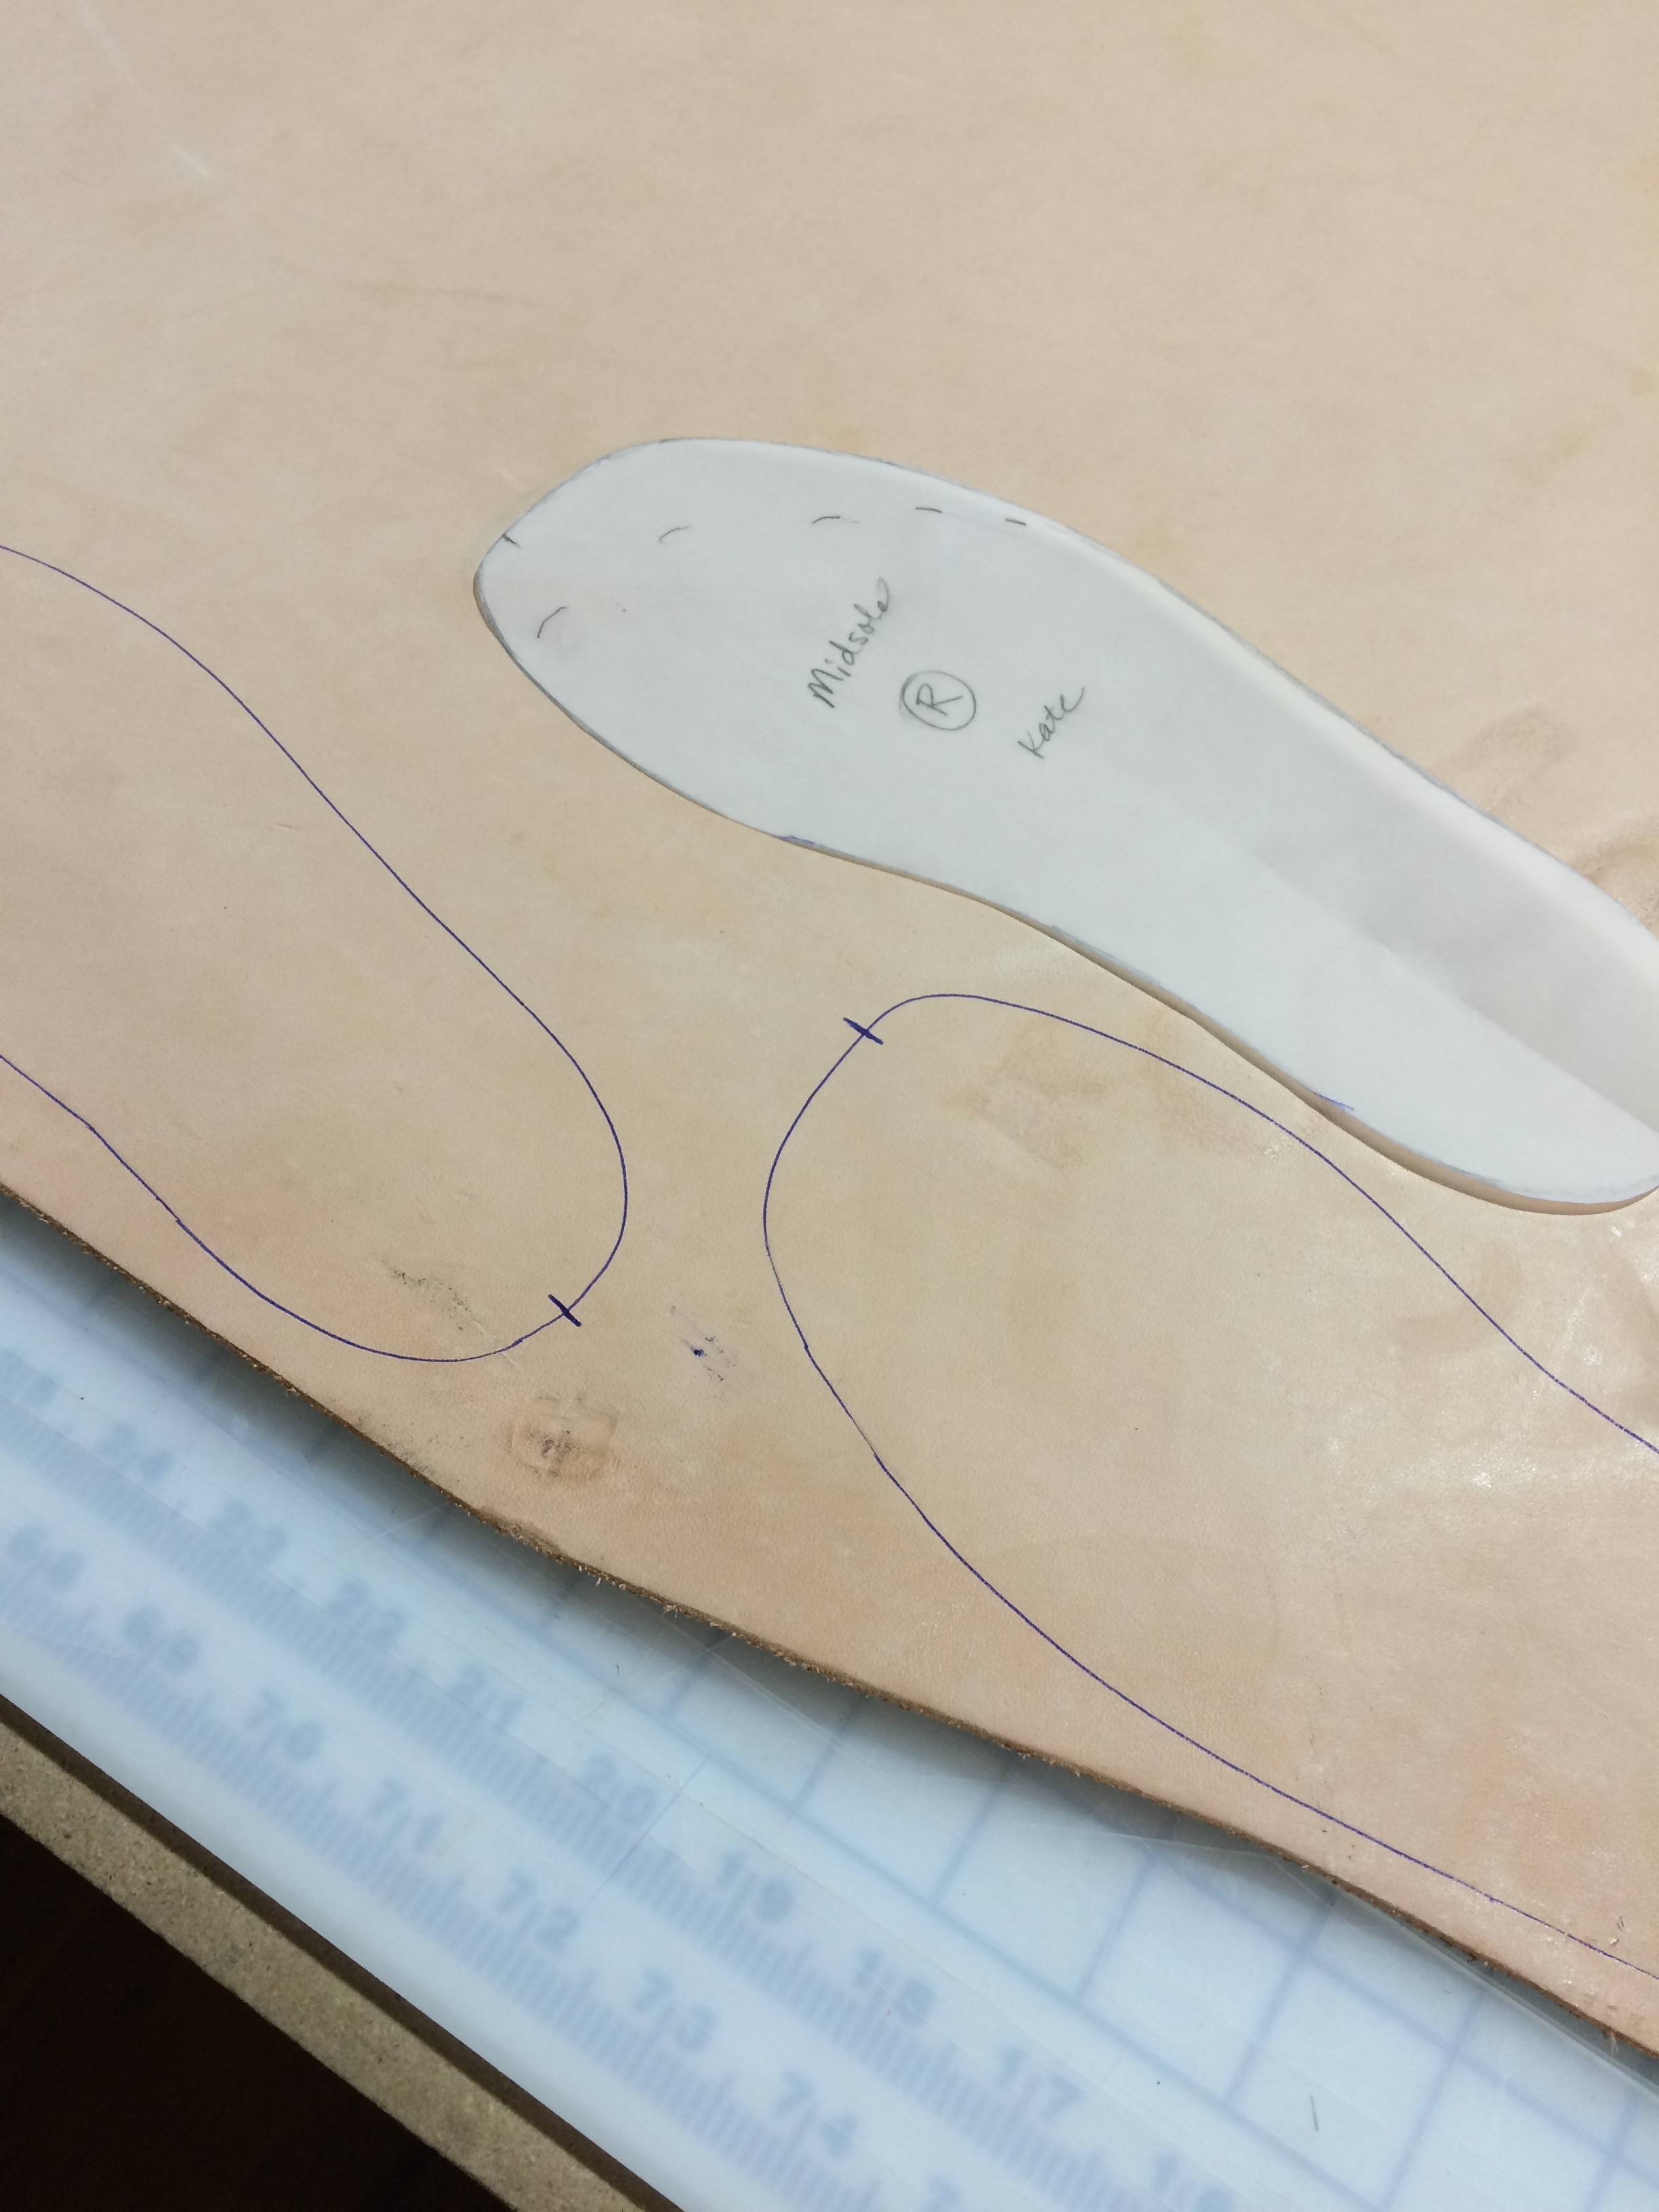
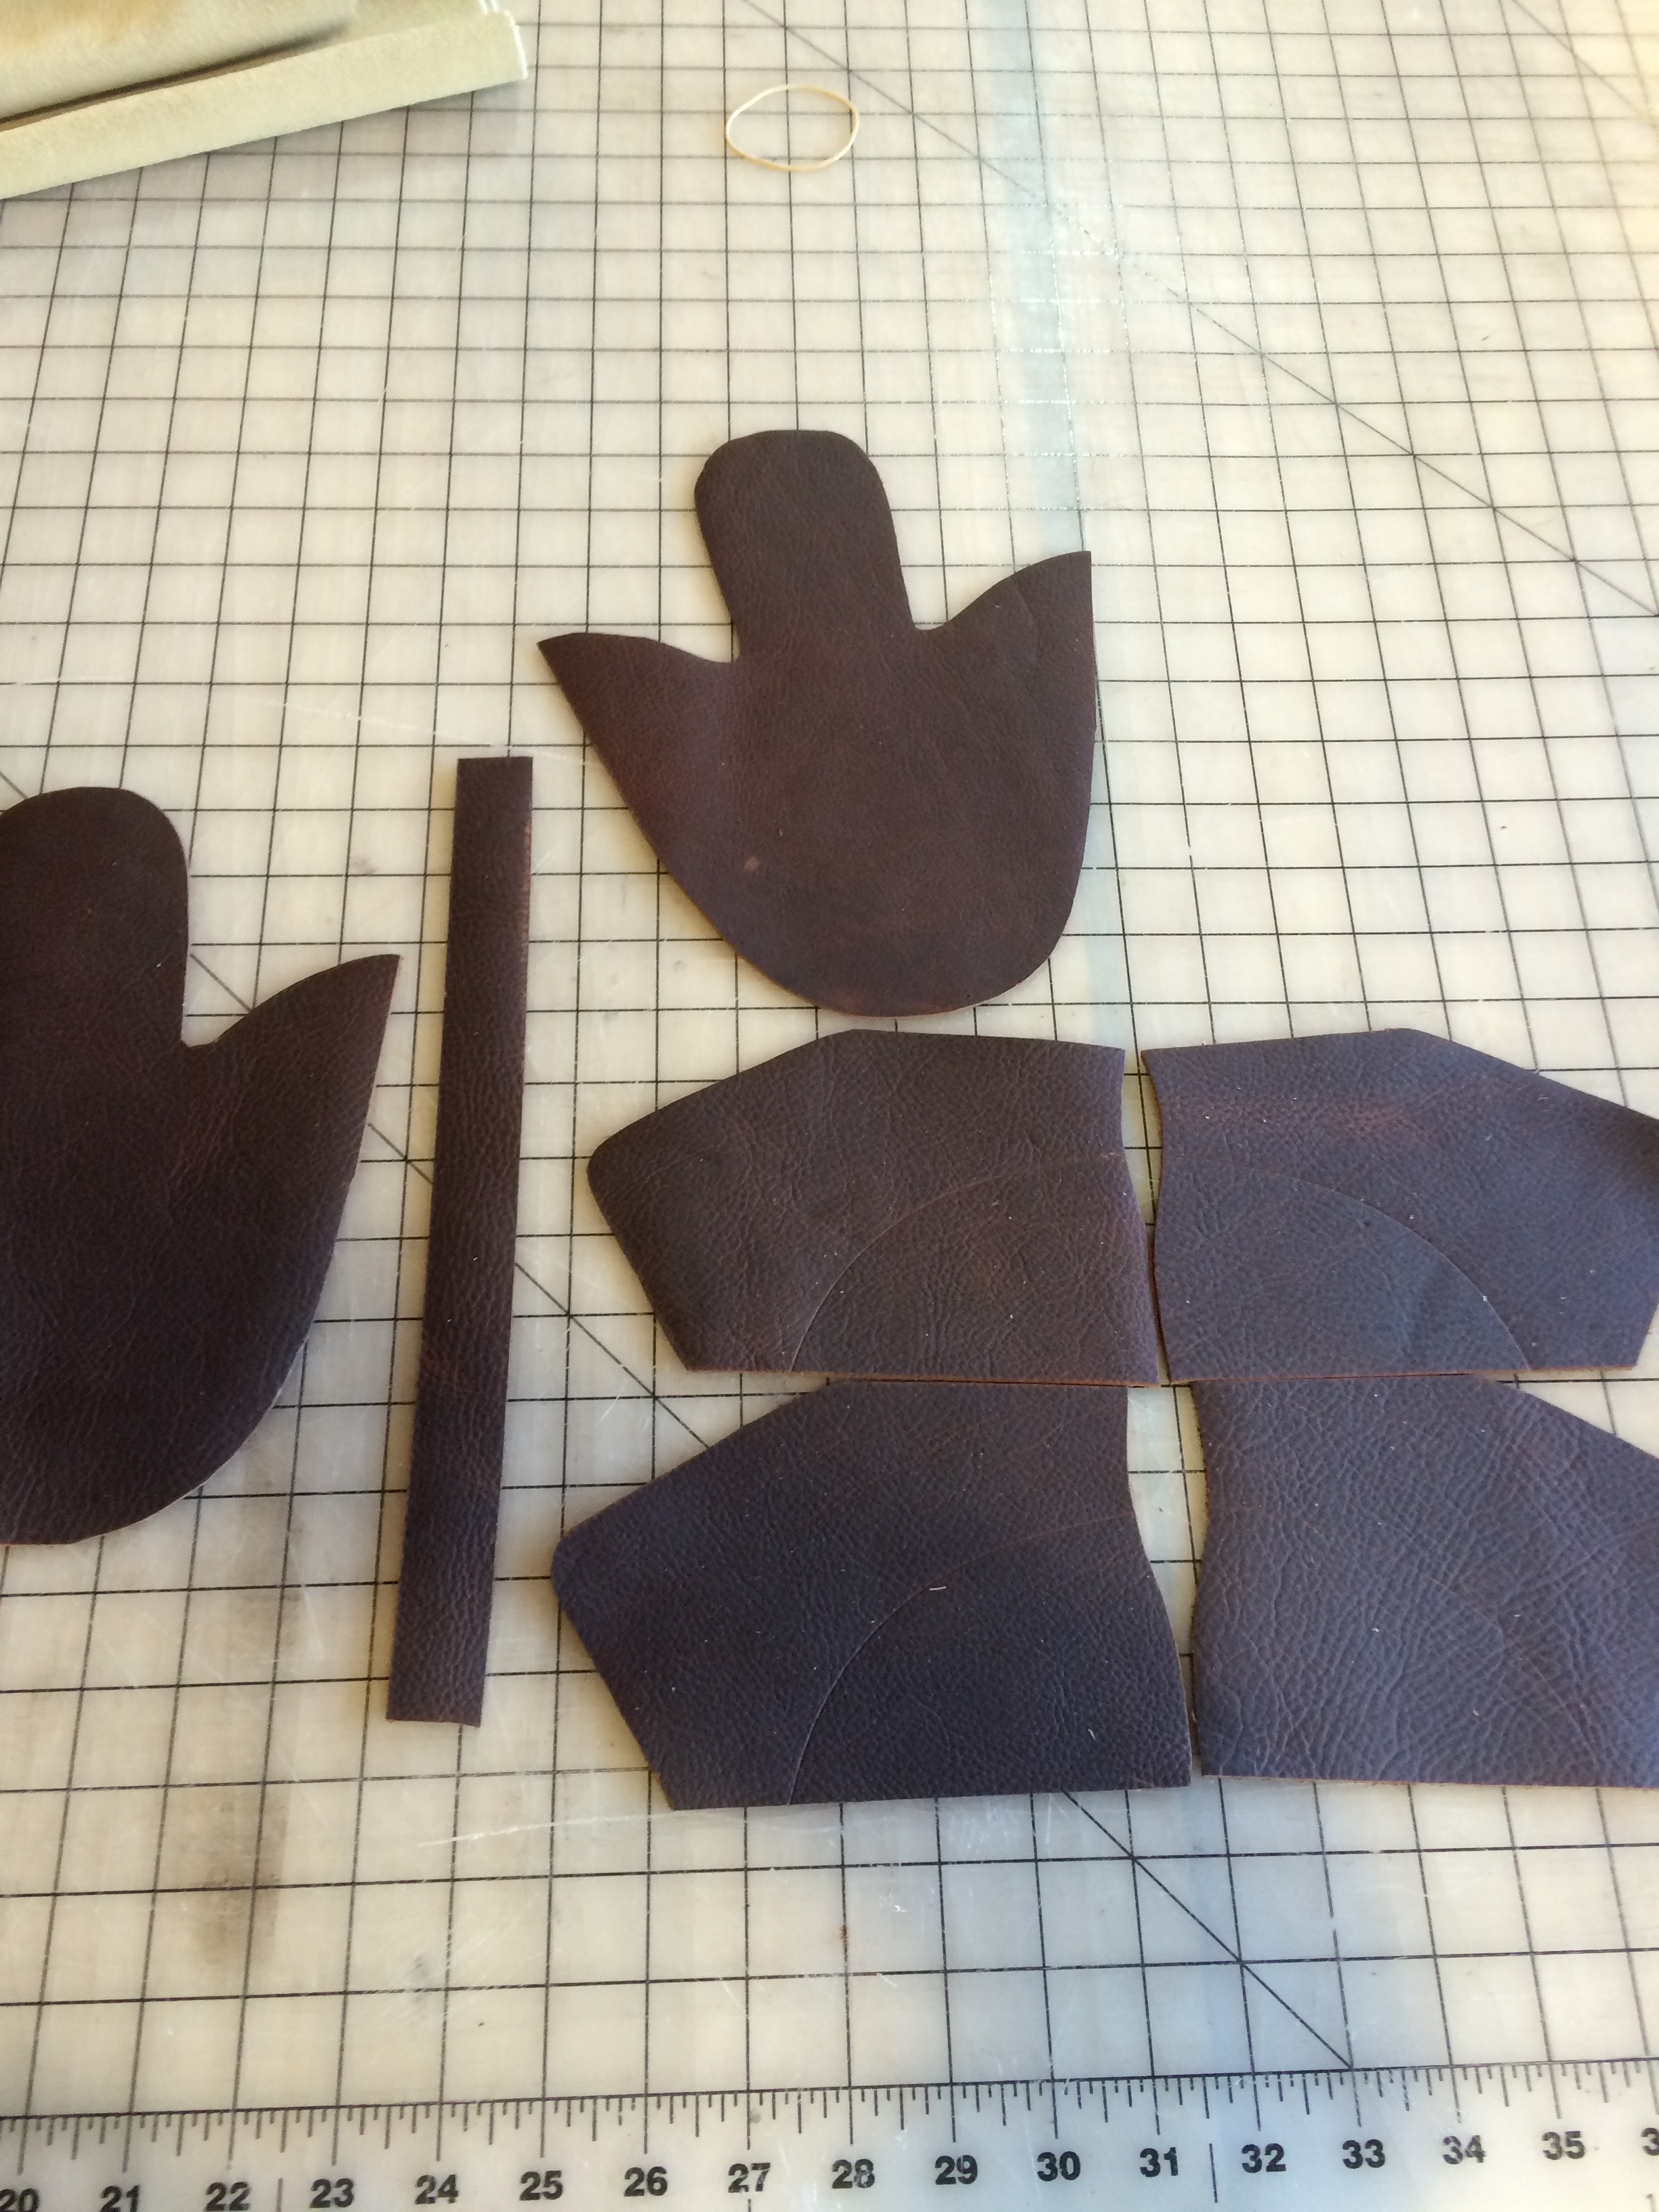
The midsoles (leather) and soles/heels (rubber) all cut out:
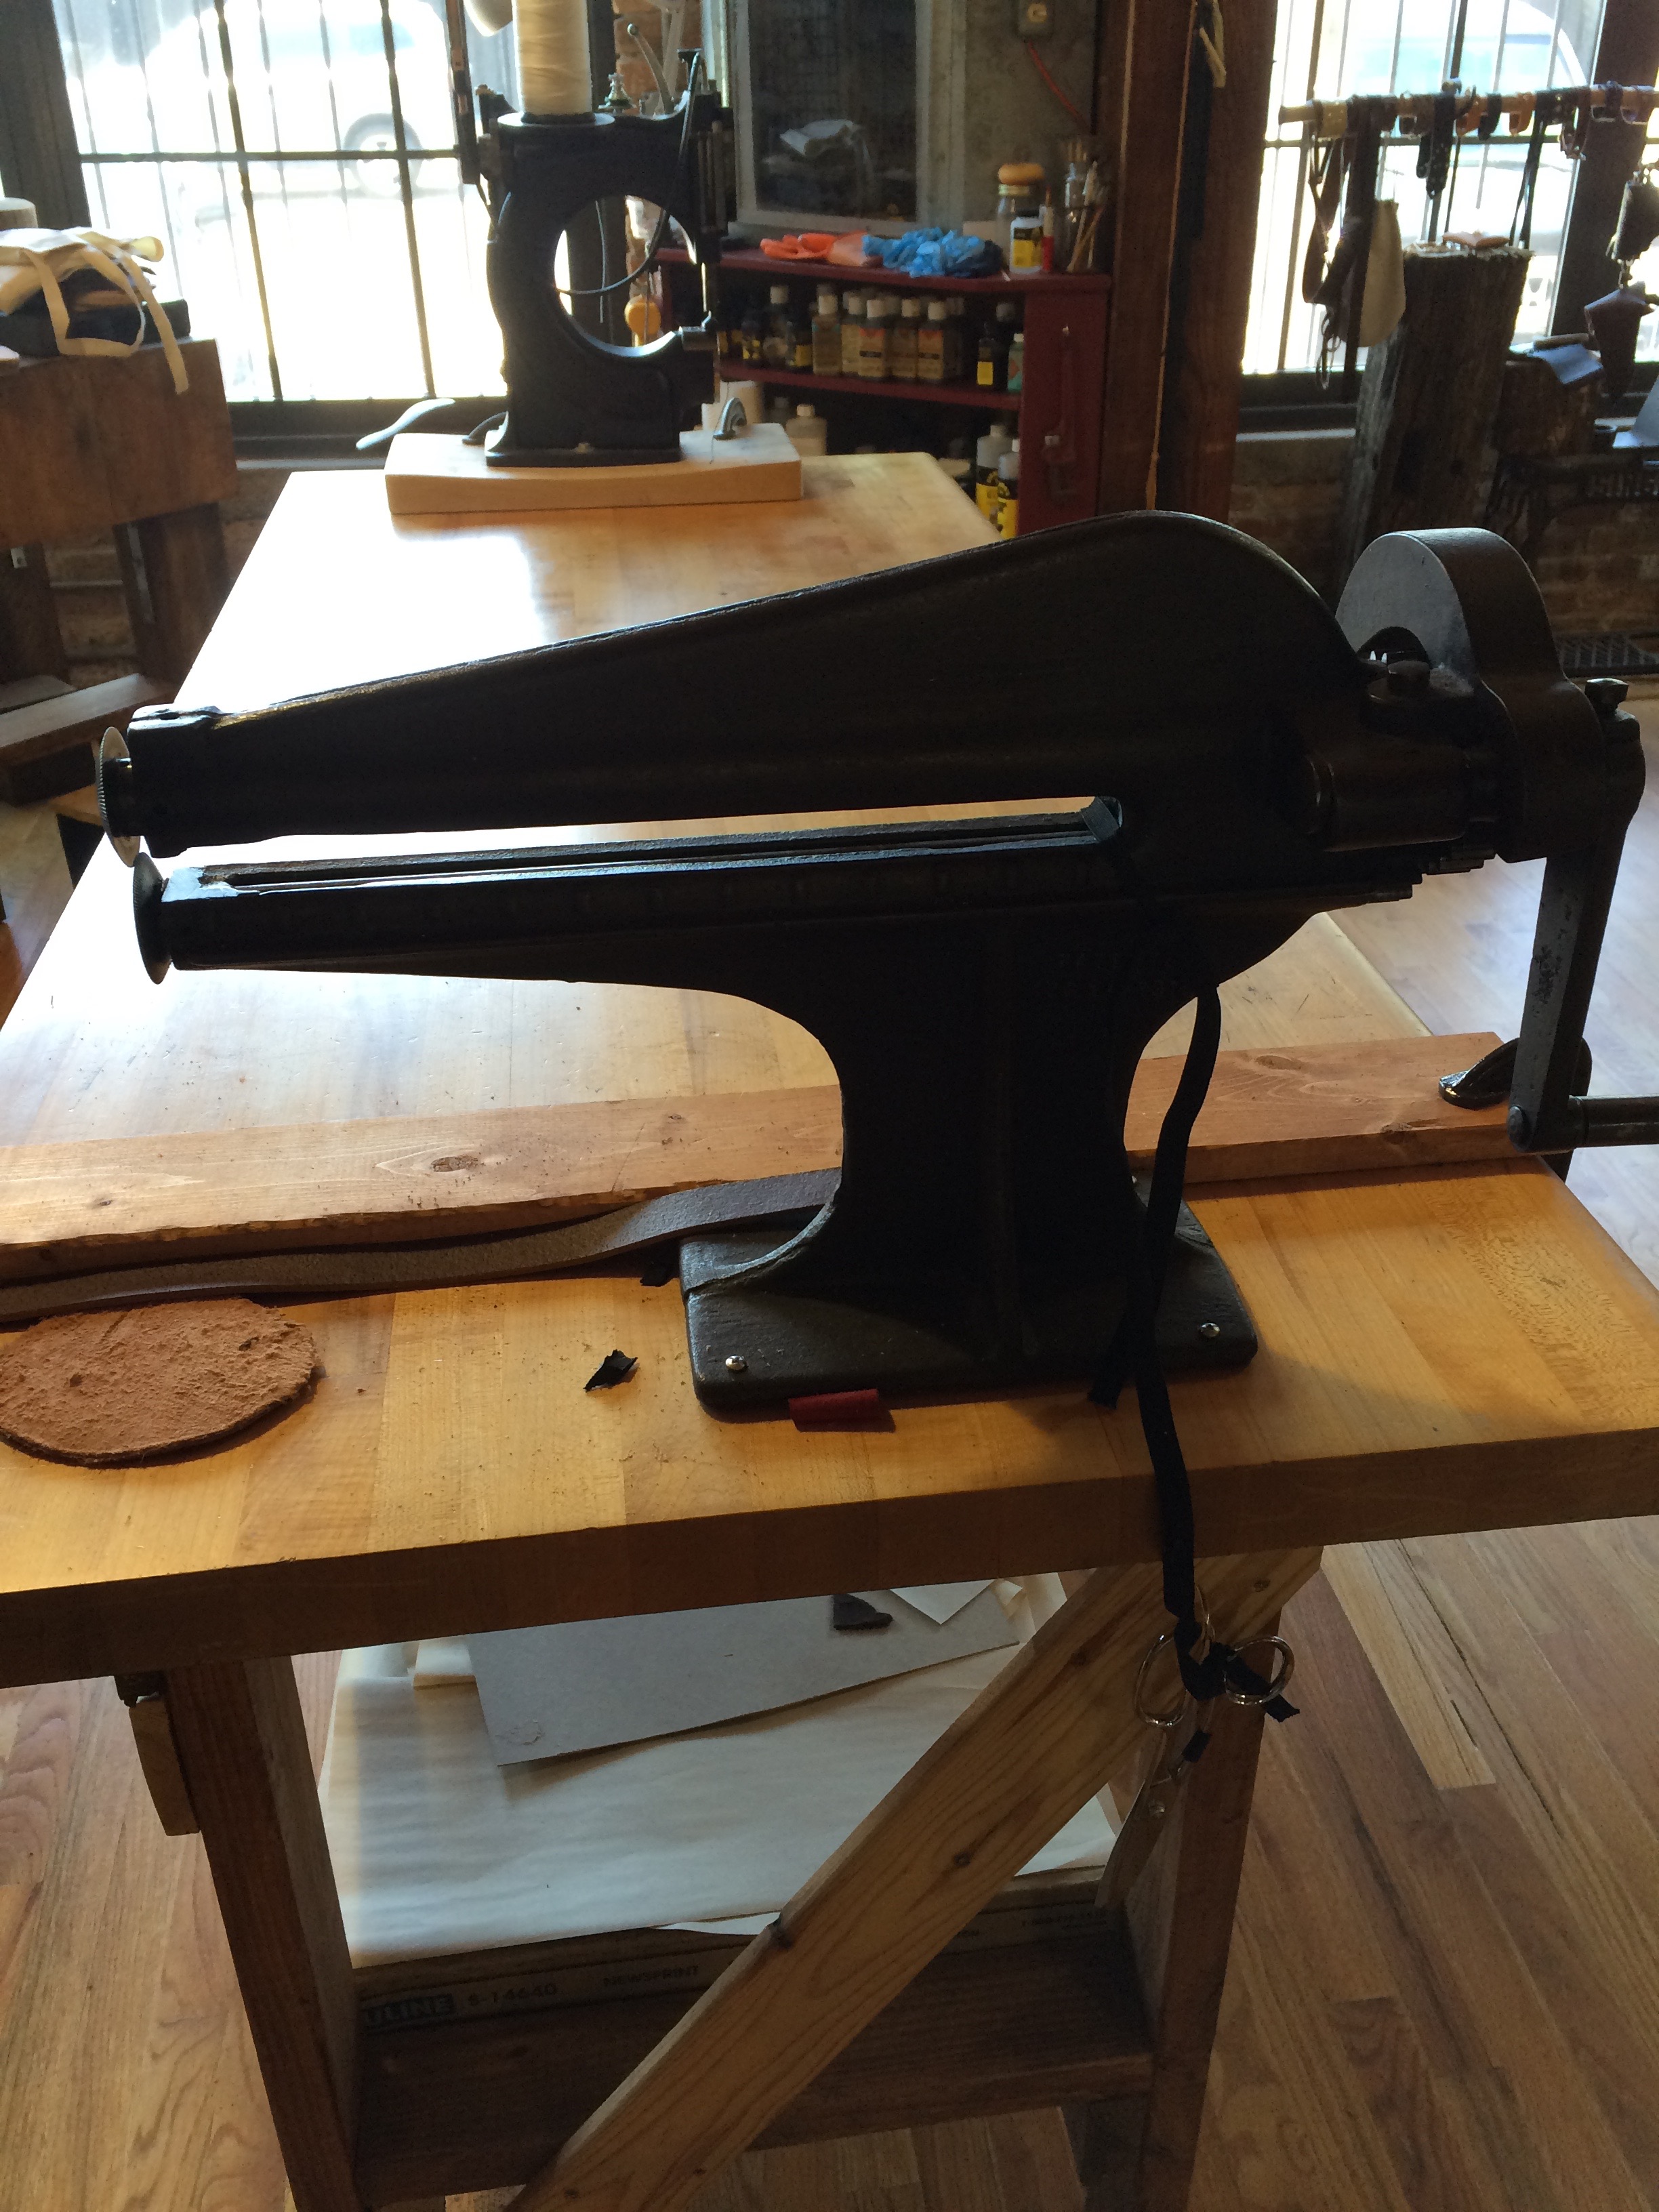
The crazy thing we cut them on:
And leather all cut out:
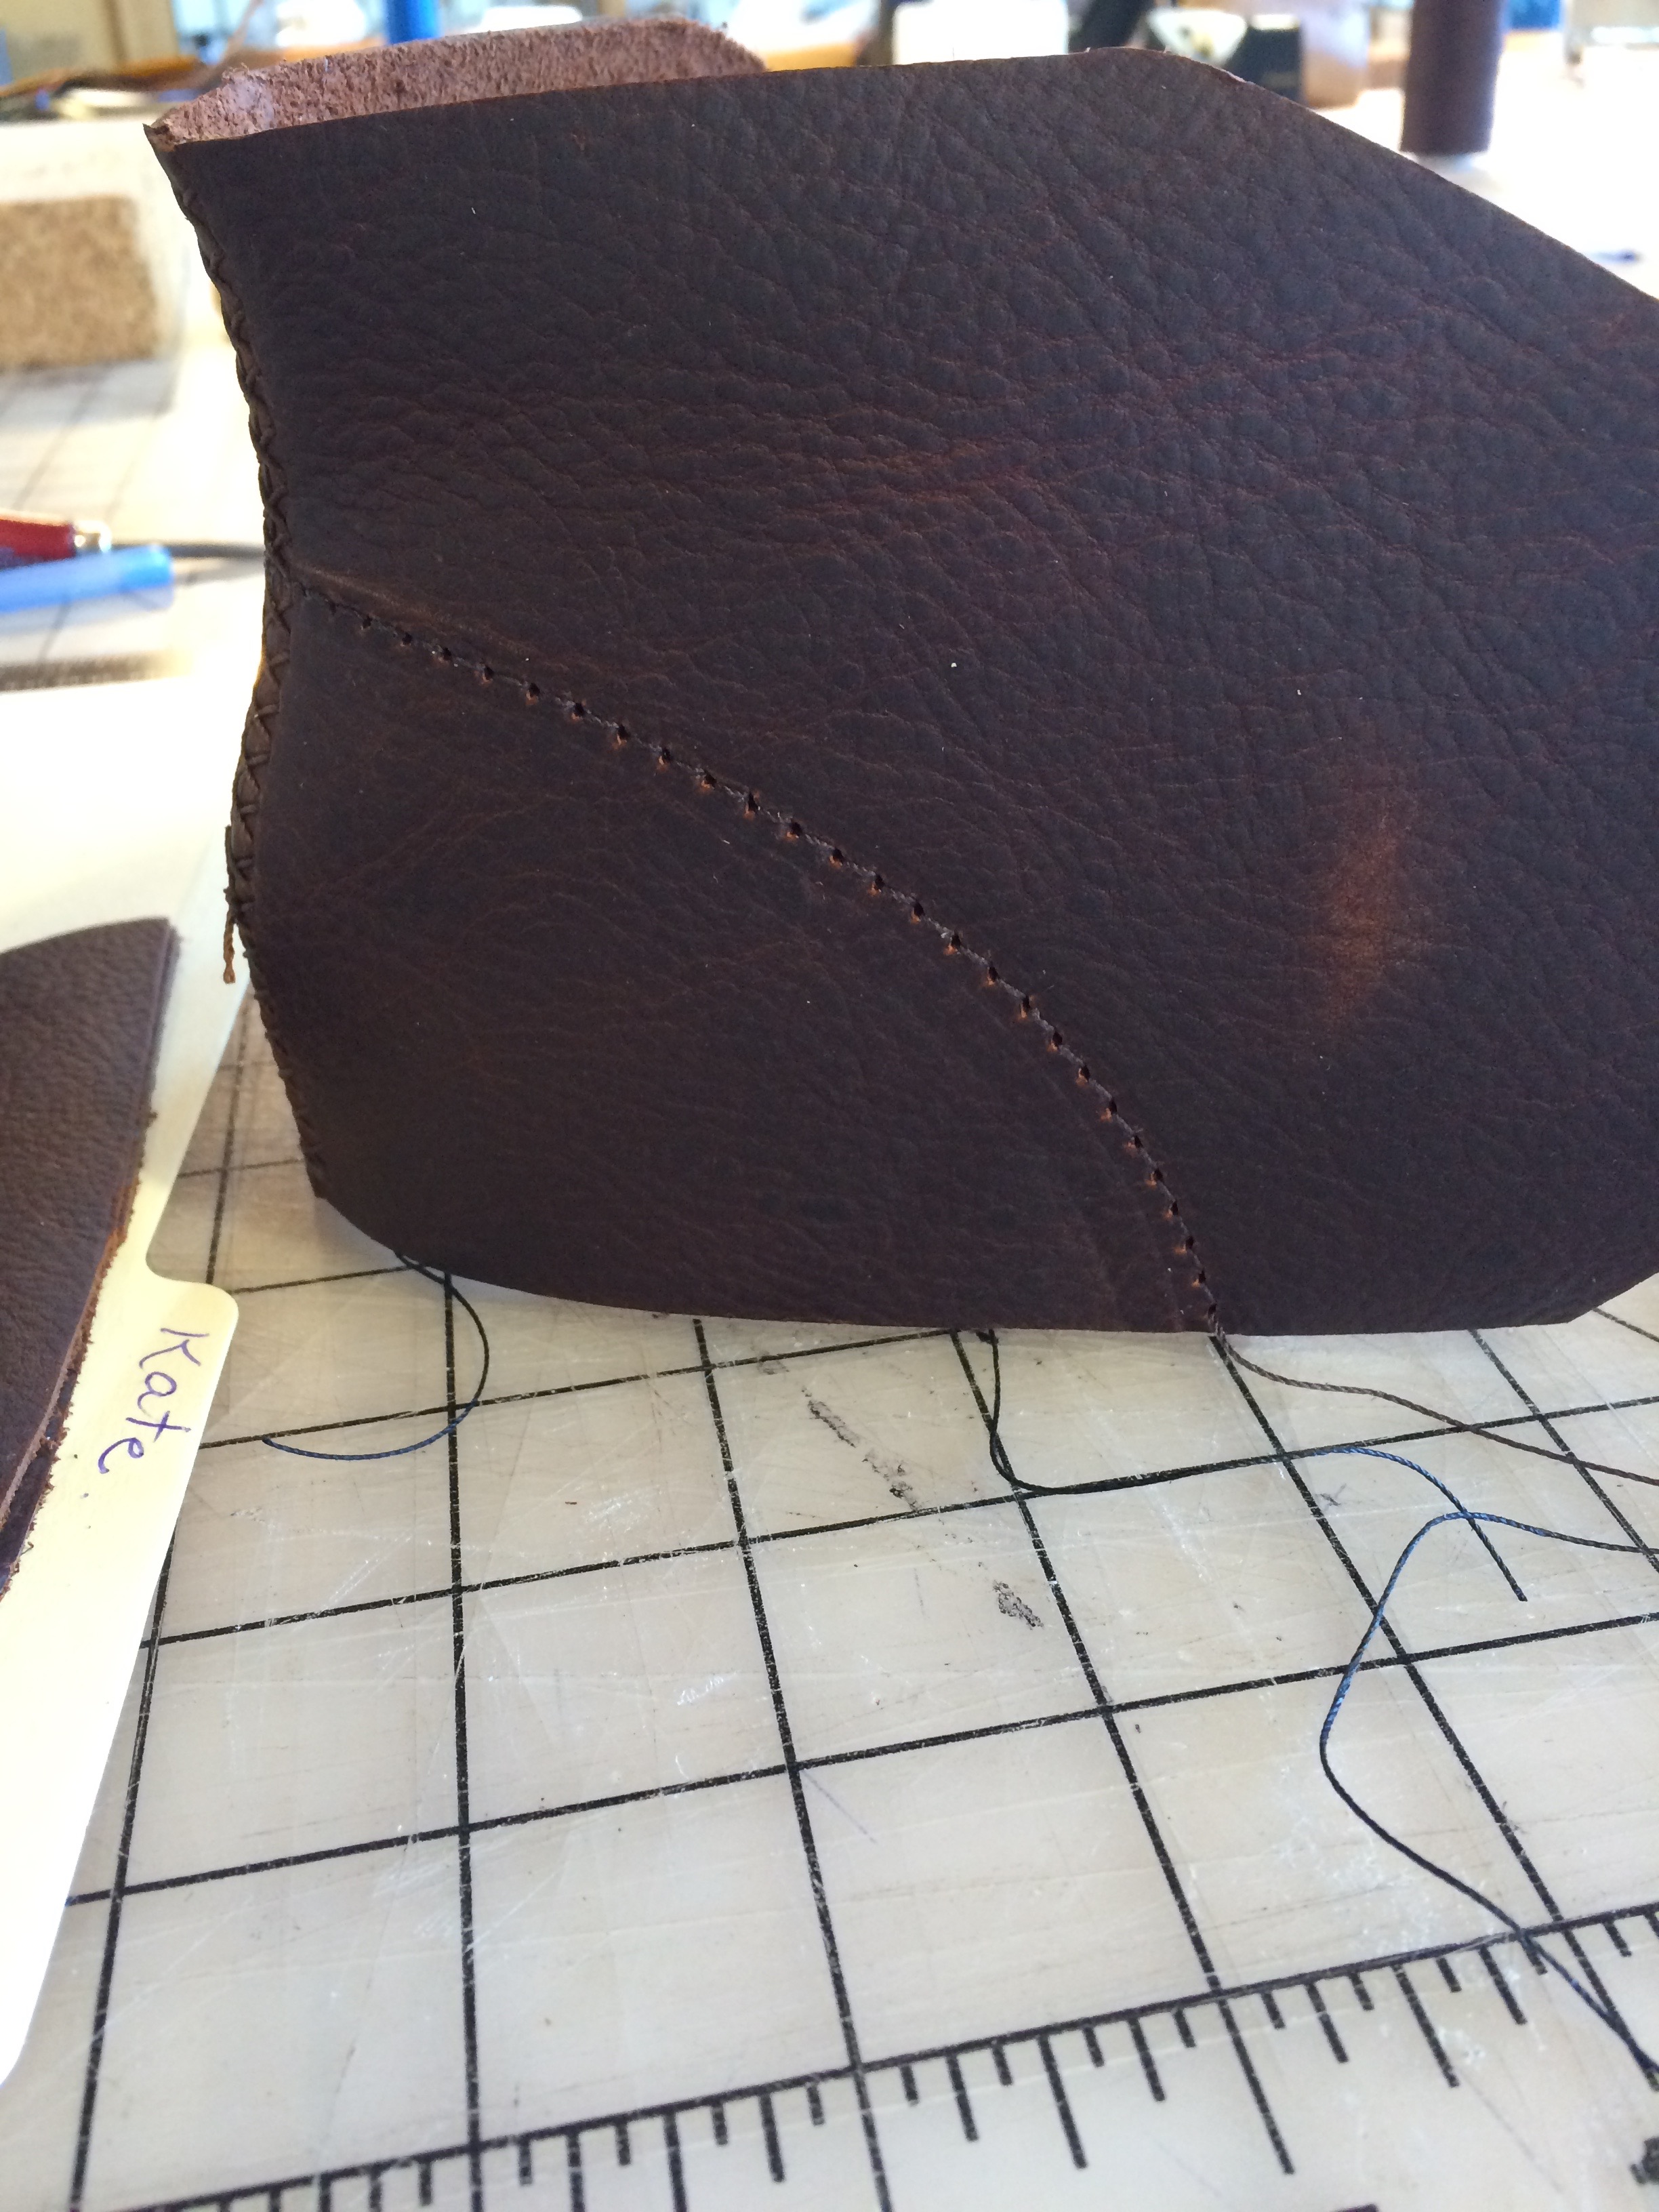
The shoes were stitched by hand and by machine, so that we could get some experience with both. I have been using sewing machines for as long as I can remember, but I have never used an industrial leather machine. They are pretty tricky to use! Here are the backs of the shoes, sewn by hand:
 The side reinforcement, sewn by machine (below). I was so relieved when I didn’t totally blow it with my first job sewing on the leather machine because you cant’ just rip out the seams. You are left with permanent holes, yikes!
 Reinforcements on the inside of the shoe and grommets for laces:
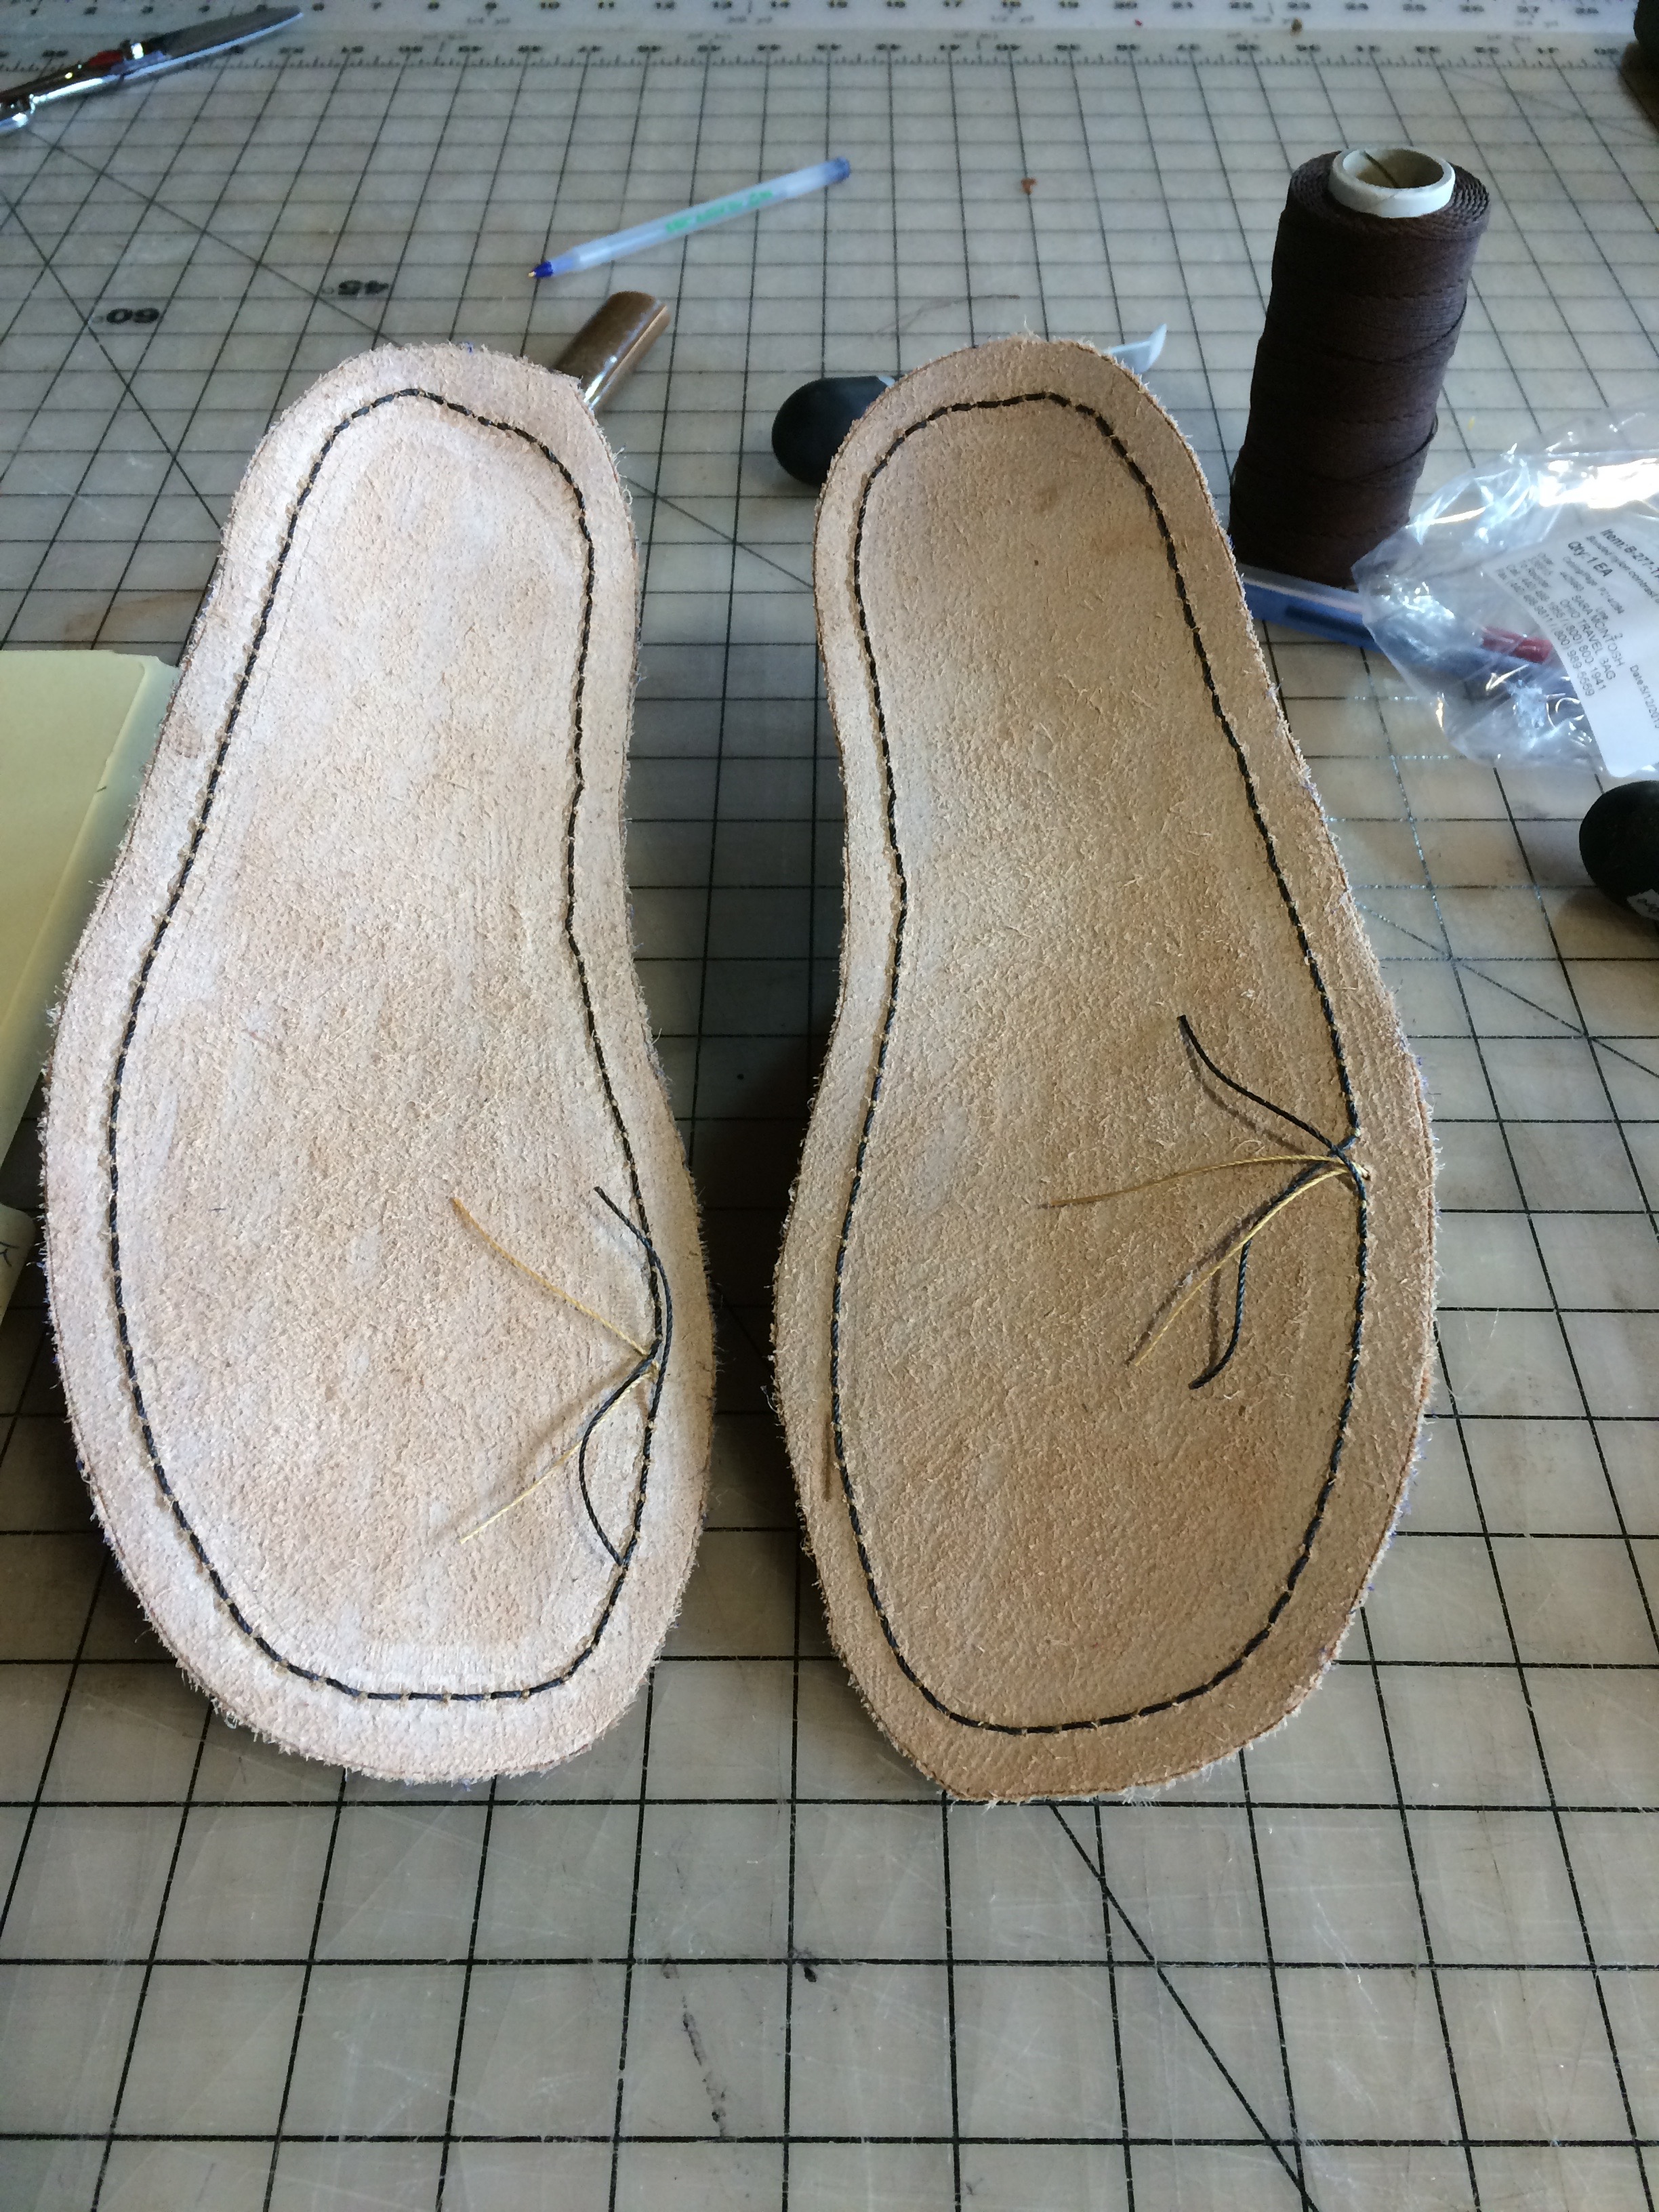
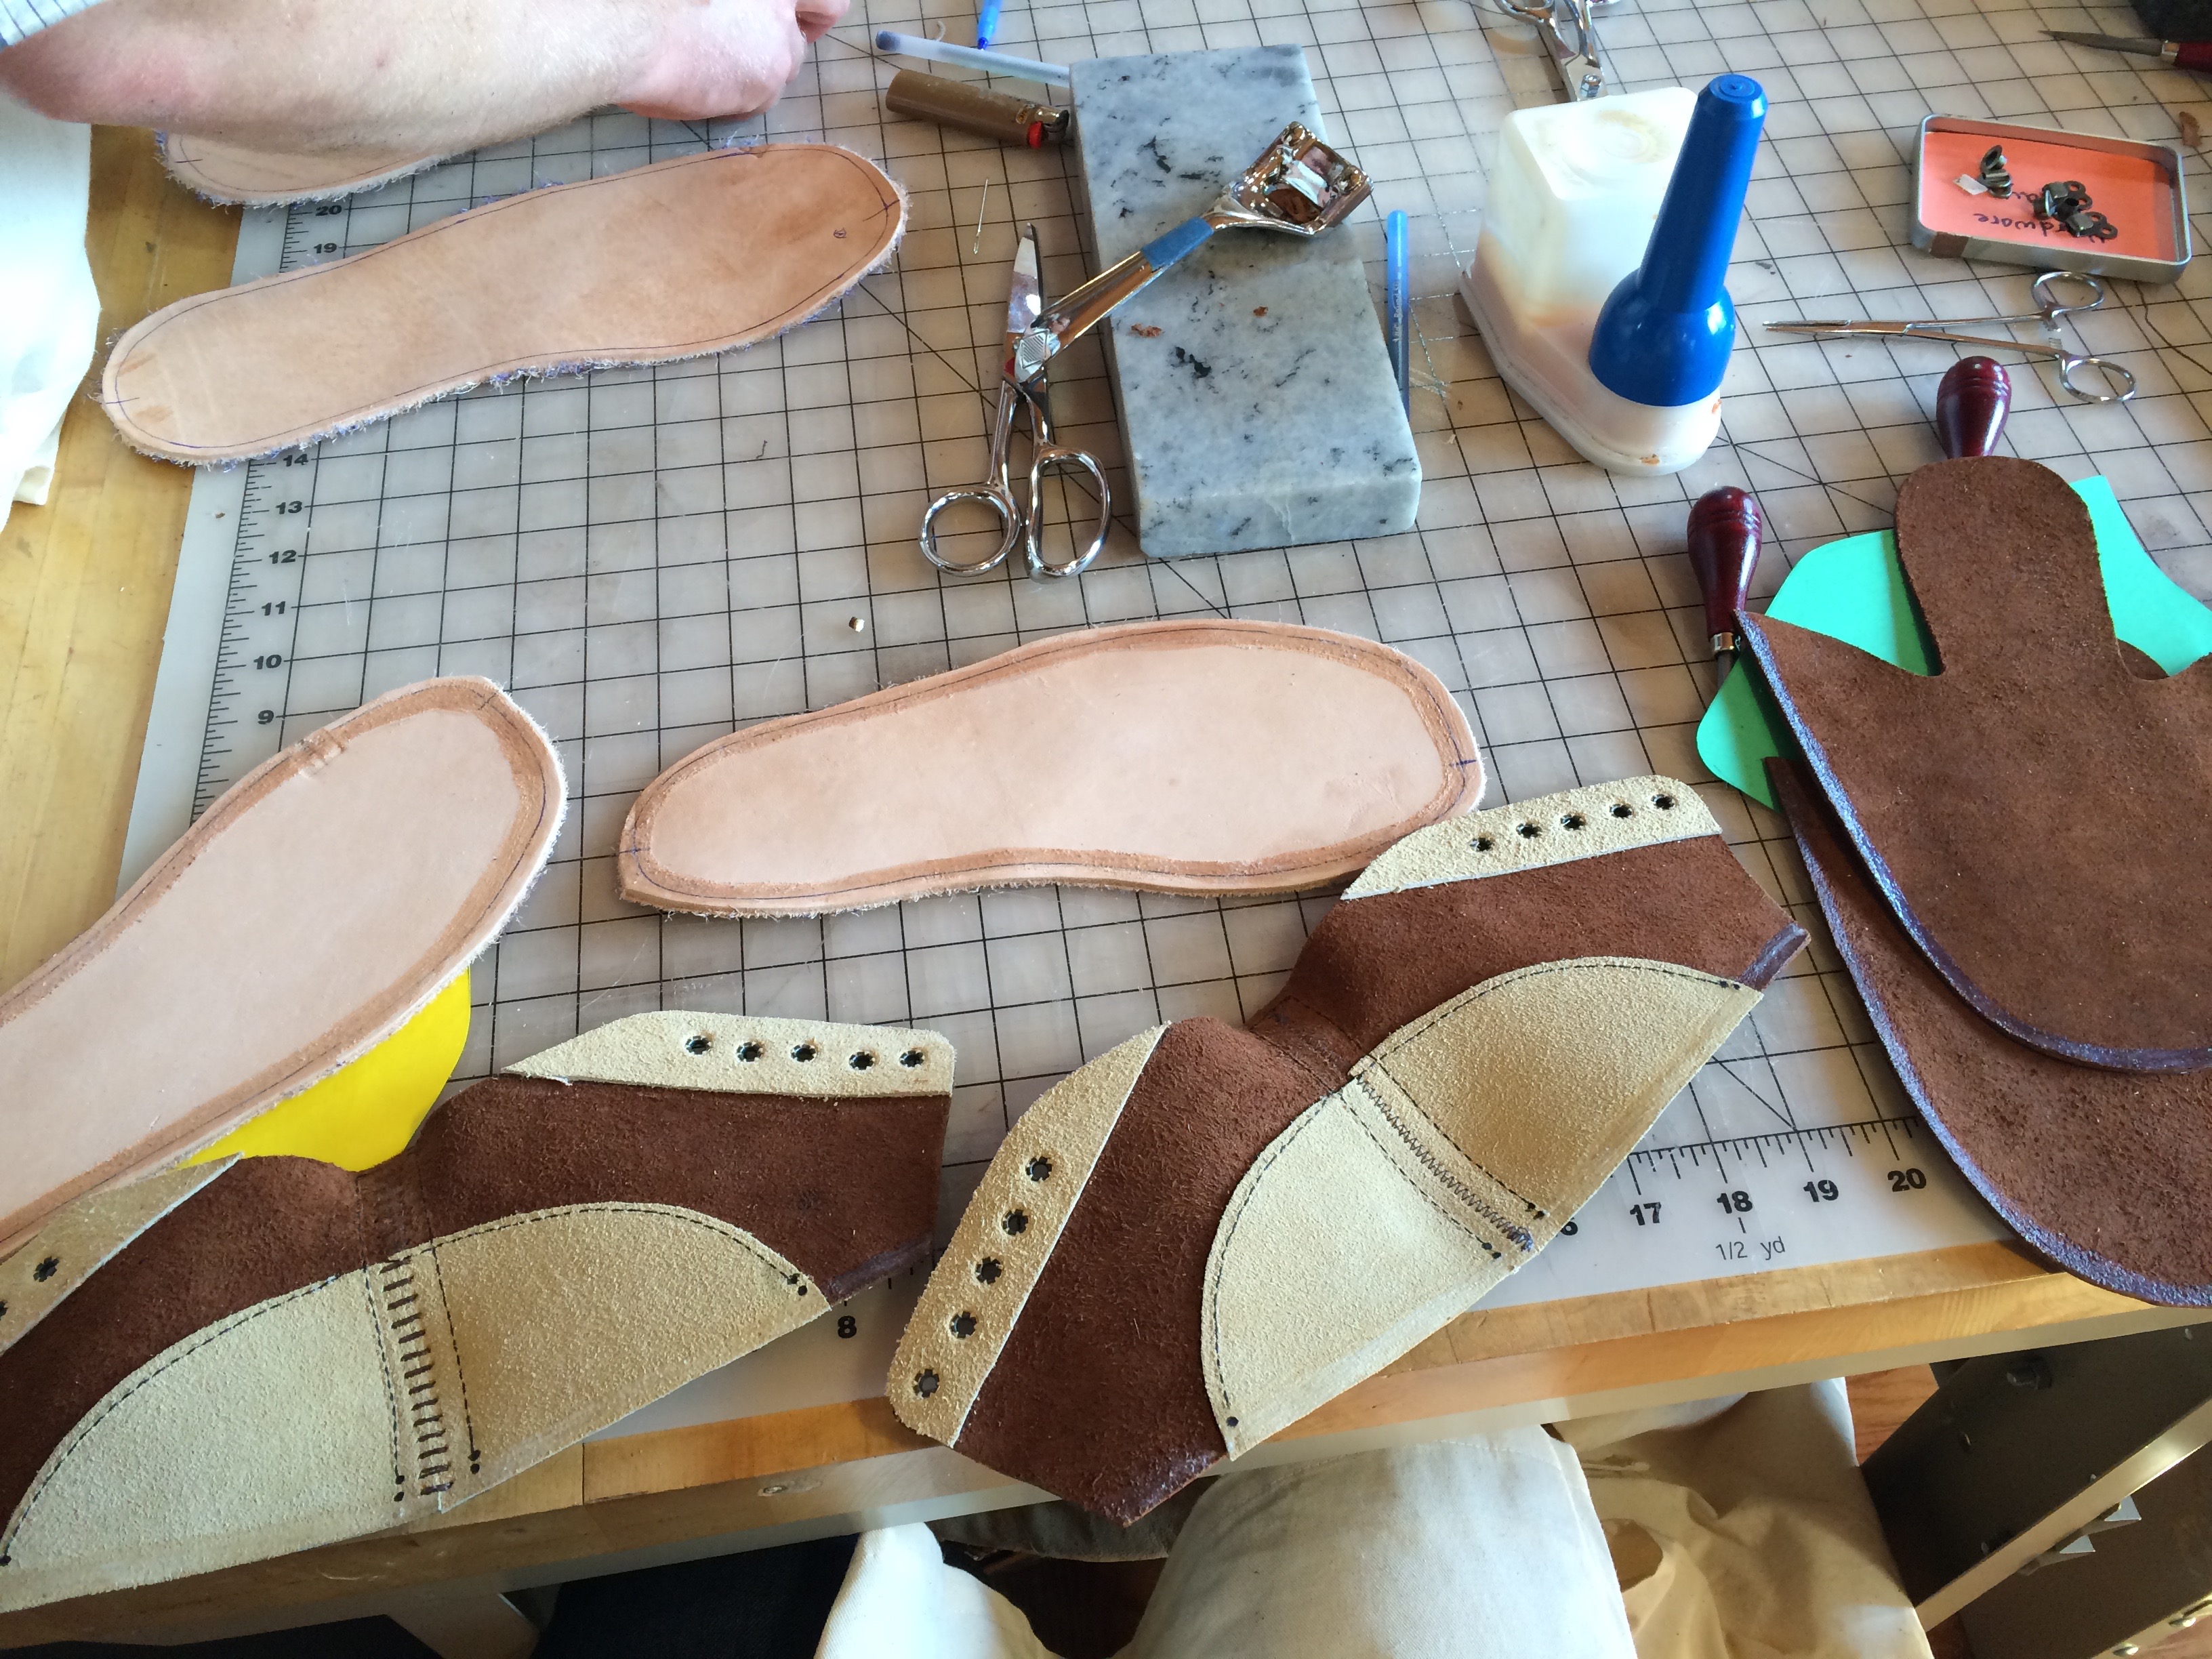 The next step was to place the shoe onto the midsole and stitch down, then glue to the sole:
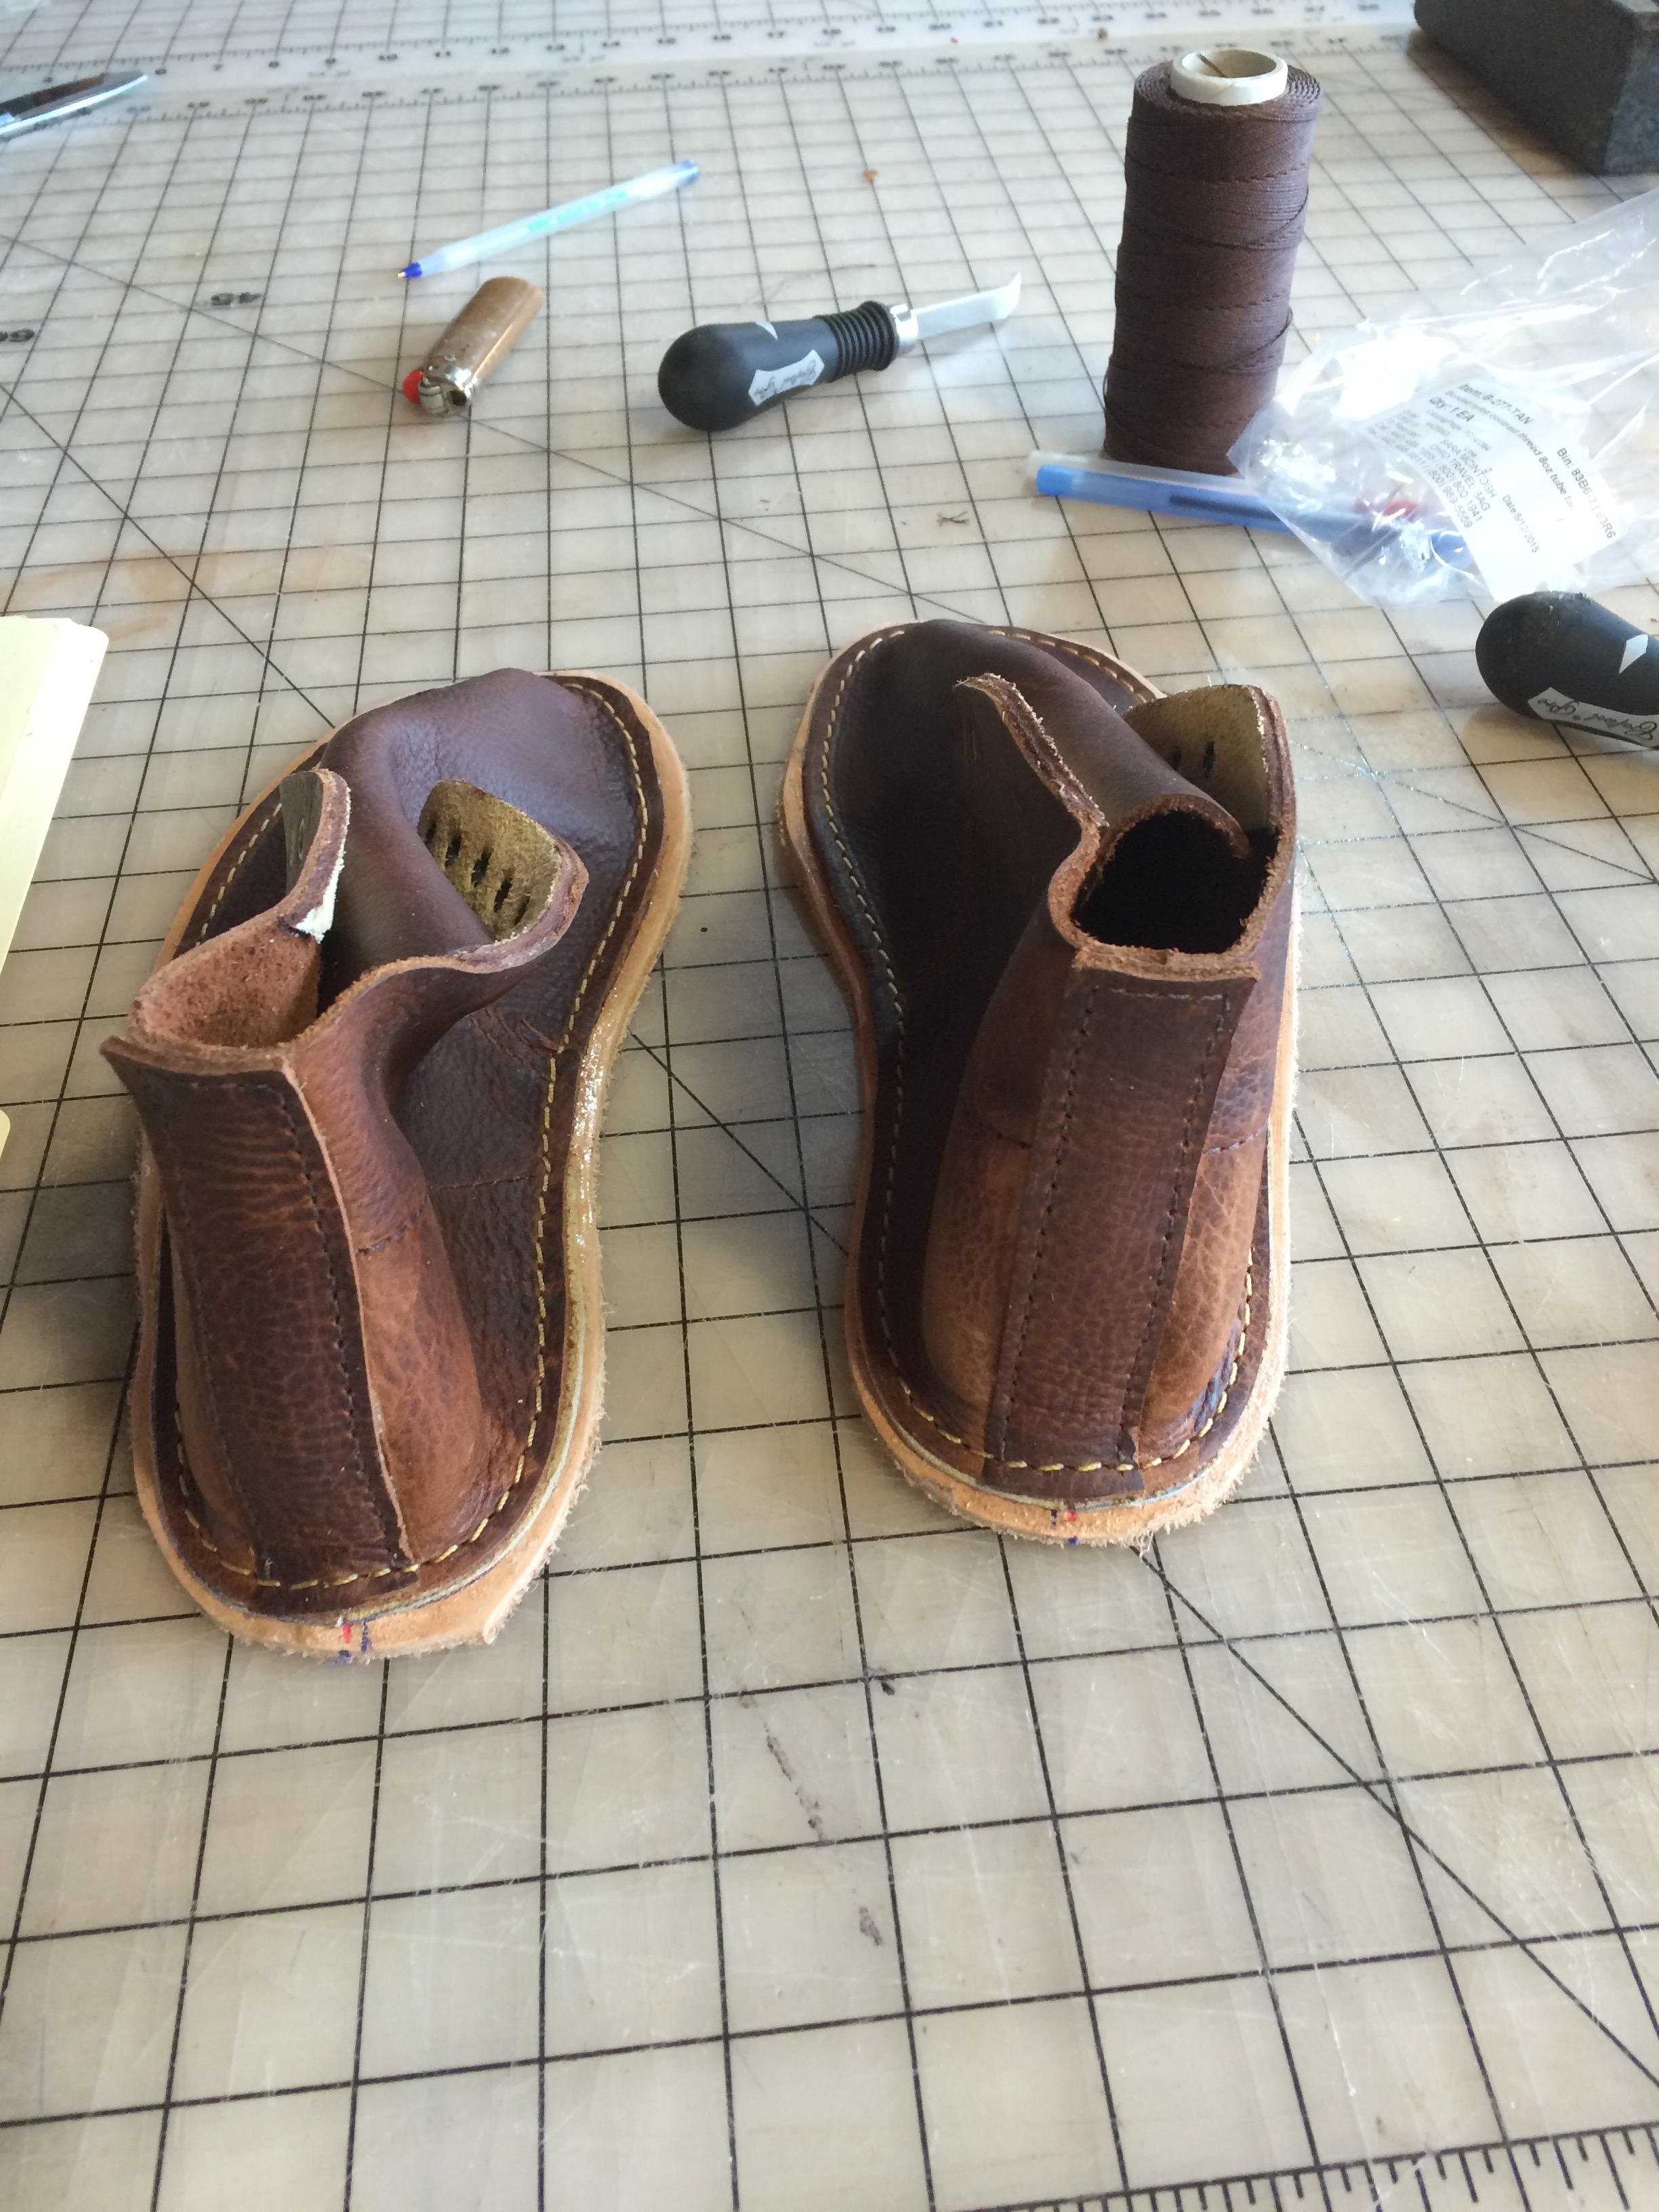 The soles were glued next and then we did something tragic and filled the boots with water. This felt crazy to do at the time, but it was necessary to get the final shape of the shoe.

 Just two steps left, filling the shoe to create the toe box (see how flat the front is without that step?) this was done by hammering material into the toe using a large dowel and a mallet. This step also felt really mean to do to the shoe I had just spent two days carefully making. Lastly, the sole and midsole were cut down to size with a bandsaw and then a belt sander. No pictures of this messy step, sadly.
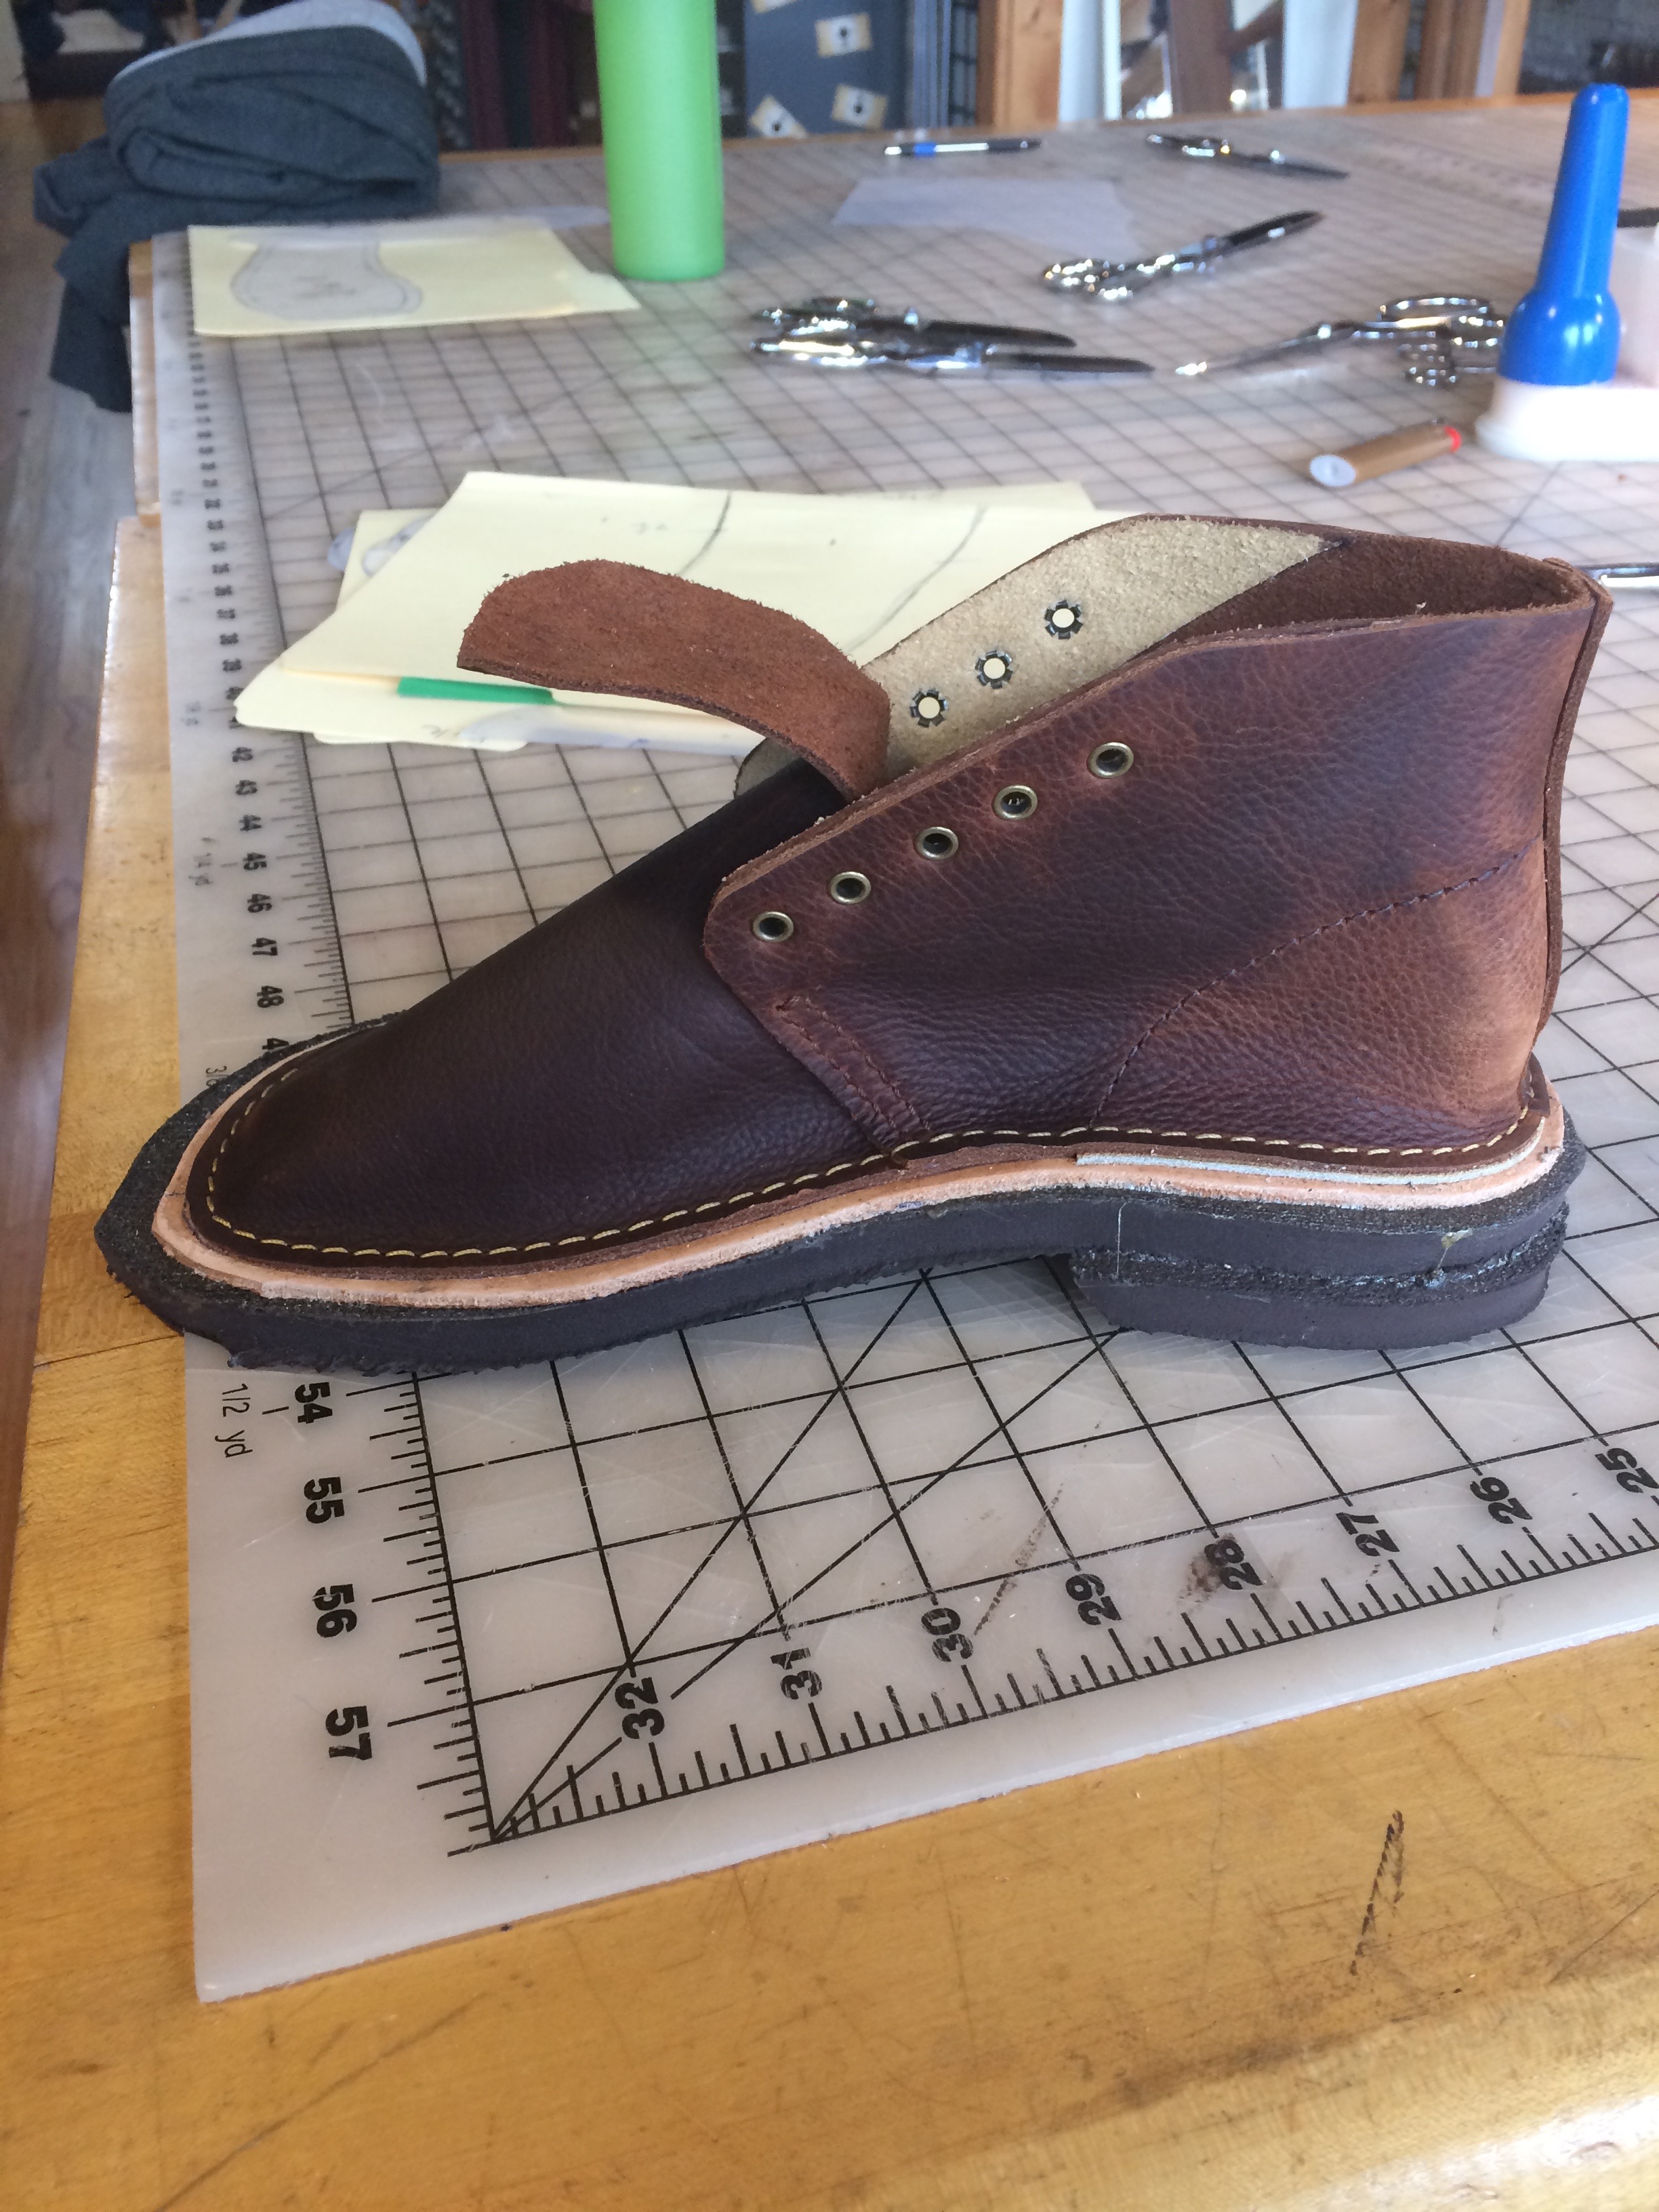
 After all this, I had to wait what seemed like forever (several days) for them to dry completely in order to try them on. It was an incredible experience getting to make these shoes from scratch. It was also pretty therapeutic for me – tackling something so physically challenging and just getting away into that creative work space was great. It was the first time in three years that I had really done something just for myself. When under stress, some women need a weekend at the spa. I need a big challenge with a practical payoff. Now, can someone give me tips on how to style these/what to wear with them? I’m absolutely helpless when it comes to getting dressed.
Kate
Recent Posts
- My Desert Boots!
- An Attempt at Living Out Loud
- Book Review - Growing a Farmer
- Fall Galette
- Ground Cherry Hand Pies
Norma
8 years ago
I’ve been wanting to make a shoe like this and appreciate seeing the photos. Can you tell me how long you left the material in the toe that made it so nicely rounded instead of flat as you show in the one photo. What material did you use to stuff that toe to make it so nicely rounded. Also, once that material was removed, did the toe area maintain it’s shape without adding some type of toe box inside. How did you make the pattern needed to fit your foot to cut this shoe pattern. Thank you for any information you can provide. I’m would like to try this on my own.
admin
8 years ago
We stuffed balls of newsprint into the shoe to form the toe box. She said to leave it in for a few days but I was really conservative and left it like that for over a week. I wanted to be certain that the shoe was all the way dry and it was humid at the time. The instructor did tell us that if we took it out too early and the toe fell that we could just do the process over again. As for the toes maintaining the shape, they are not quite as tall as they initially were, but are maintaining the general shape. This is something that I wondered a lot too, and I have thought about even adding a toe box after the fact which I’m sure is completely the wrong way to do it. If I feel the shoes need more structure and I do end up trying that, I will update you on it. As for the pattern, the instructor came up with her own formula for how to design each piece from a tracing of the foot and measurements over the top of the foot. Pattern drafting is covered in a separate class.
If I were starting from scratch and trying to figure this out myself, I would make pattern pieces off of an existing shoe by overlaying scrap fabric and writing on it, similar to the rub off method of clothing patterns. You’ll want to trace the bottom of the shoe also to make the midsole leather to sew the upper onto. If you don’t want to cut into leather on the first go, try experimenting with some thick felt to draft a pattern from. That’s how I would do it. I hope this helps some!